Trip Report: Denver Gravel is a 10/10
A short weekend where I pack my bike, fly to Denver, spend time with one of my favorite people, and ride some beautiful trails.
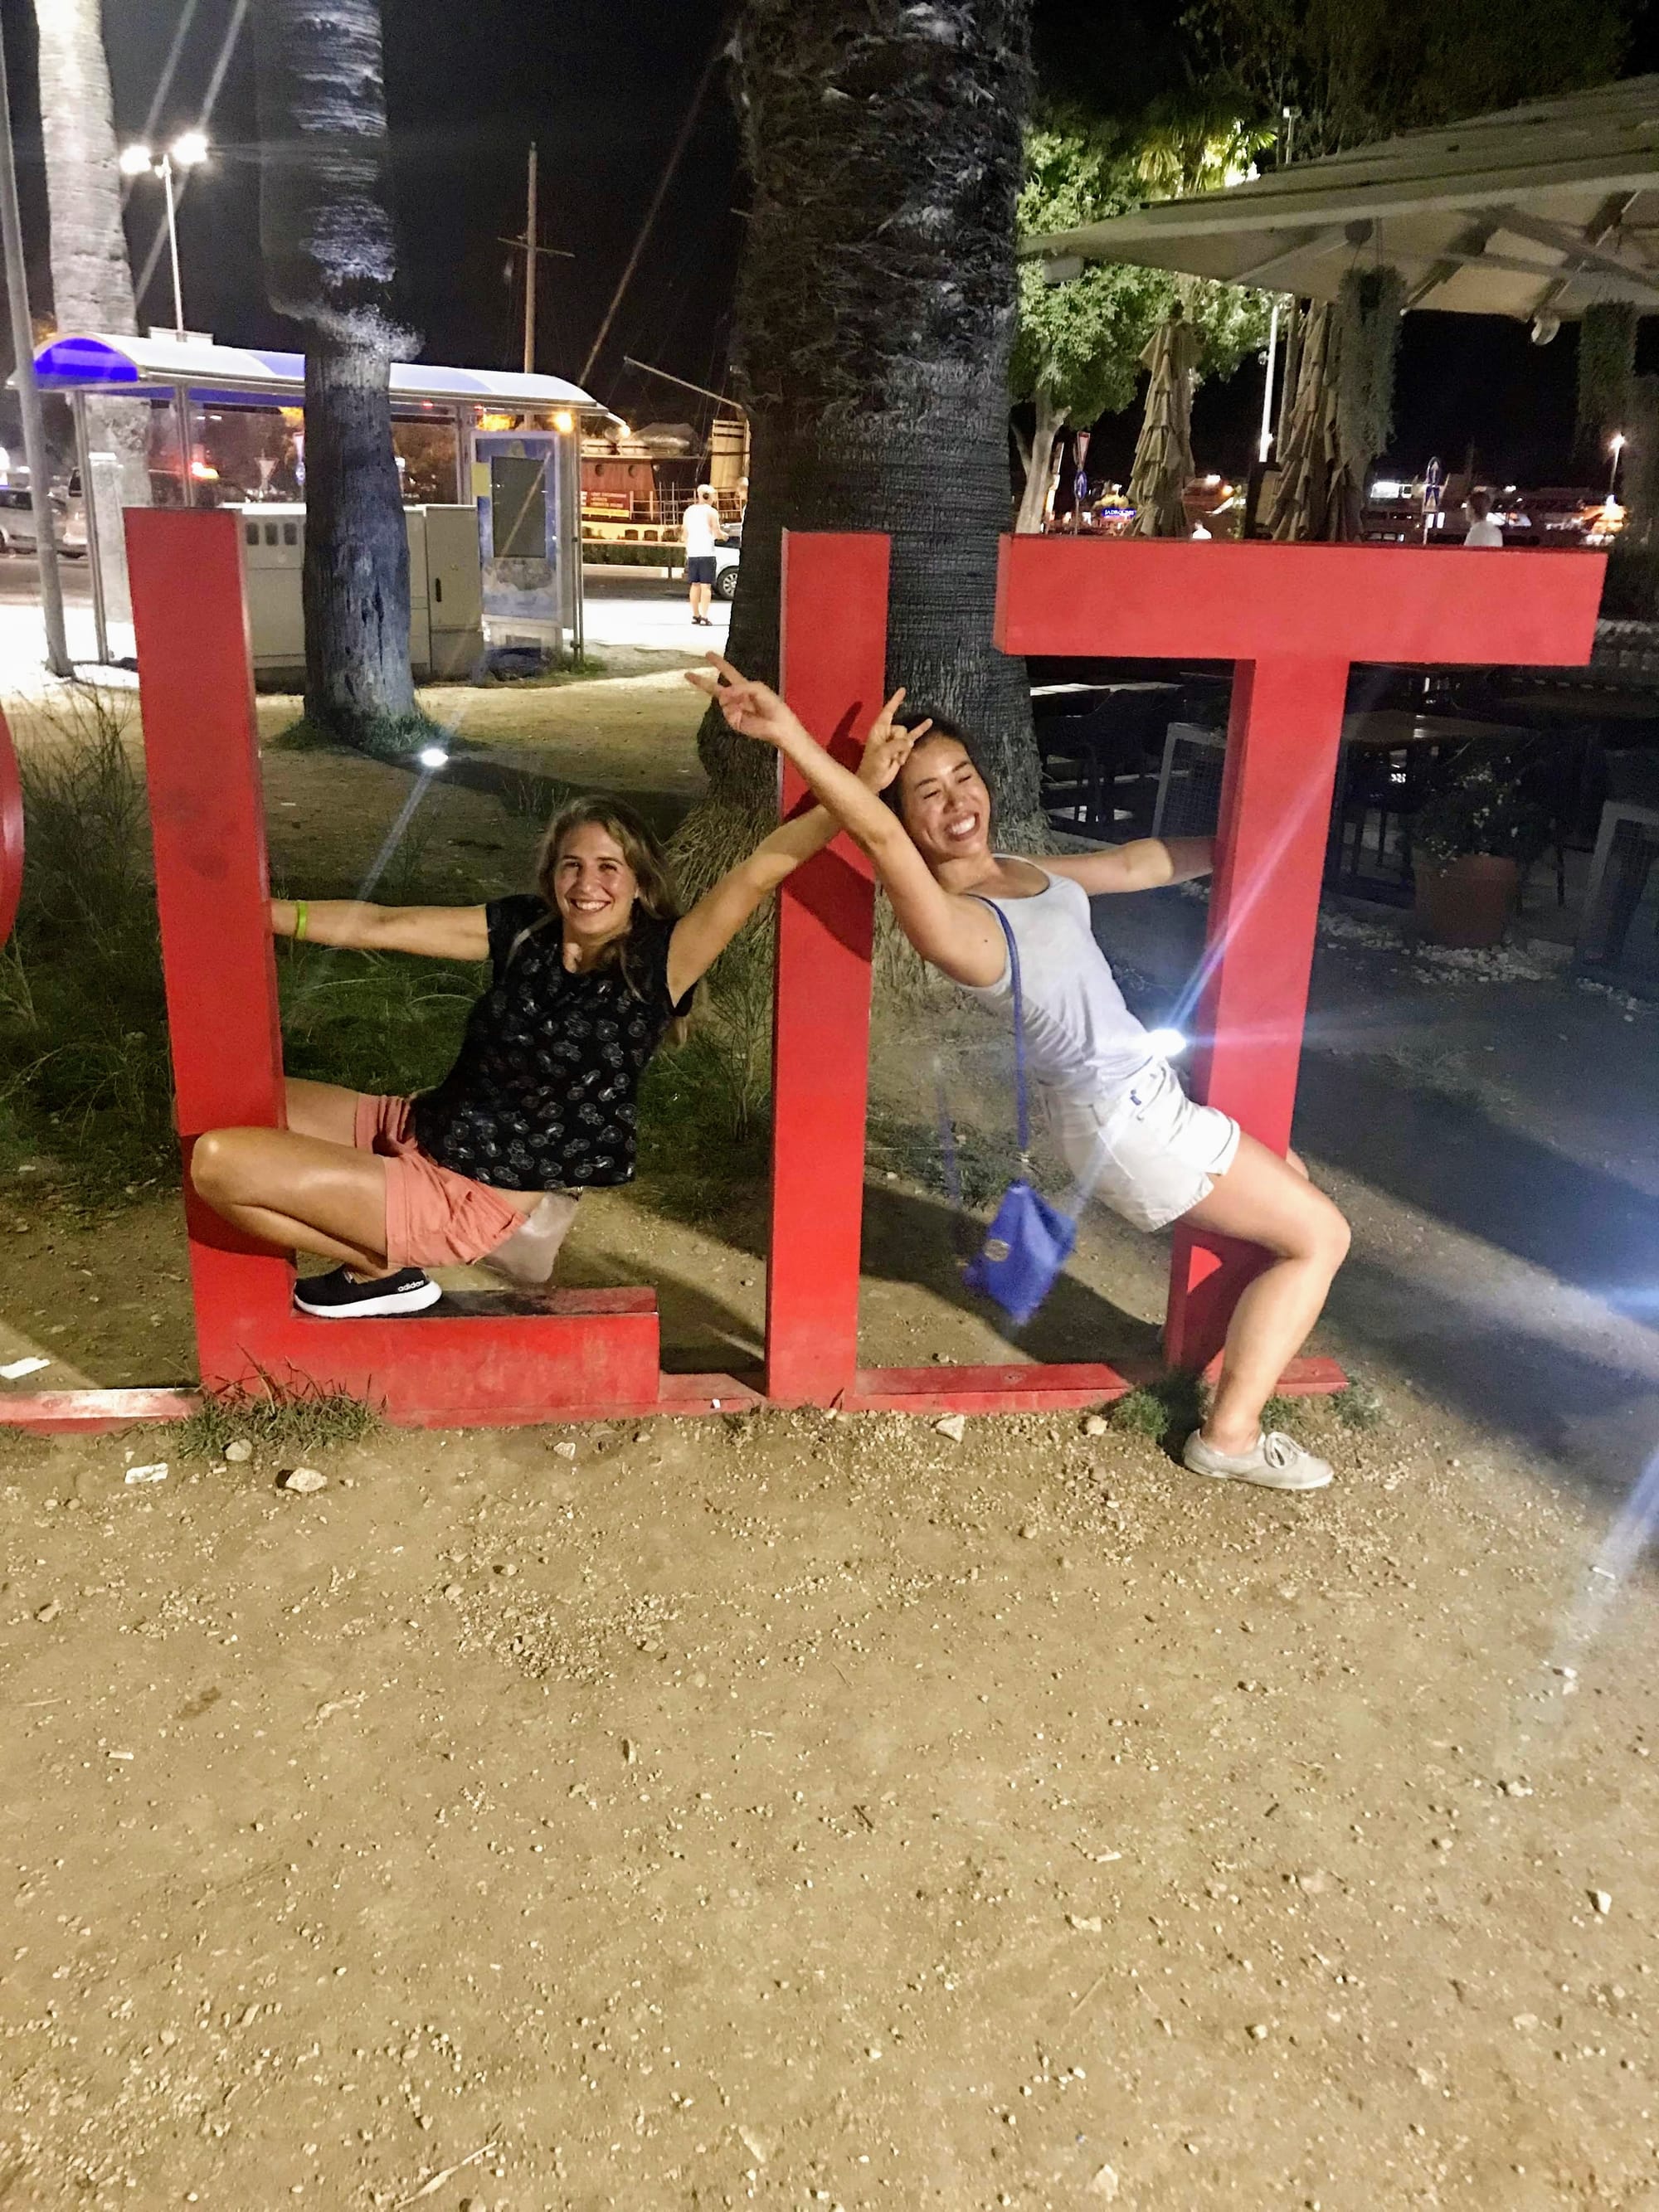
In May, one of my best friends from my time in New York, Melissa – or "Lux," as I call her – moved to Denver, Colorado.
I really wanted to visit her in her new city before the end of the year, so we compared calendars, picked a free weekend, and I booked flights. At the time, we weren't totally sure what we were going to do – all we knew was we wanted to take advantage of the gorgeous Colorado mountains – but we kept coming back to the idea of doing something on our bikes.
Important context here: Lux is not only one of my favorite humans on this earth but she is incredibly cool. Like, cool in a way that makes you want to be her a bit (in an inspired way, not a creepy way), but also, she just makes people more joyous, more adventurous, more full-of-life when she's around. It's her superpower. When we first met in 2014, we were both working at a healthcare tech startup with offices in SoHo, New York. In a totally badass move, she quit that job to lead bike tours in awesome places around the world: Croatia, Italy, New Zealand, and Martha's Vineyard, to name a few.
She has also biked across the U.S. with her sisters and solo road-tripped around the country, so all this to say, she is intrepid and fun to be around and everyone that meets her instantly likes her. So, as one of my more outdoorsy friends (and definitely one of my cycling-loving friends), we decided to plan some day rides for the weekend, specifically to get into the Colorado mountains and out on some gravel trails.
Bringing My Bike
Because I love giving myself jobs.
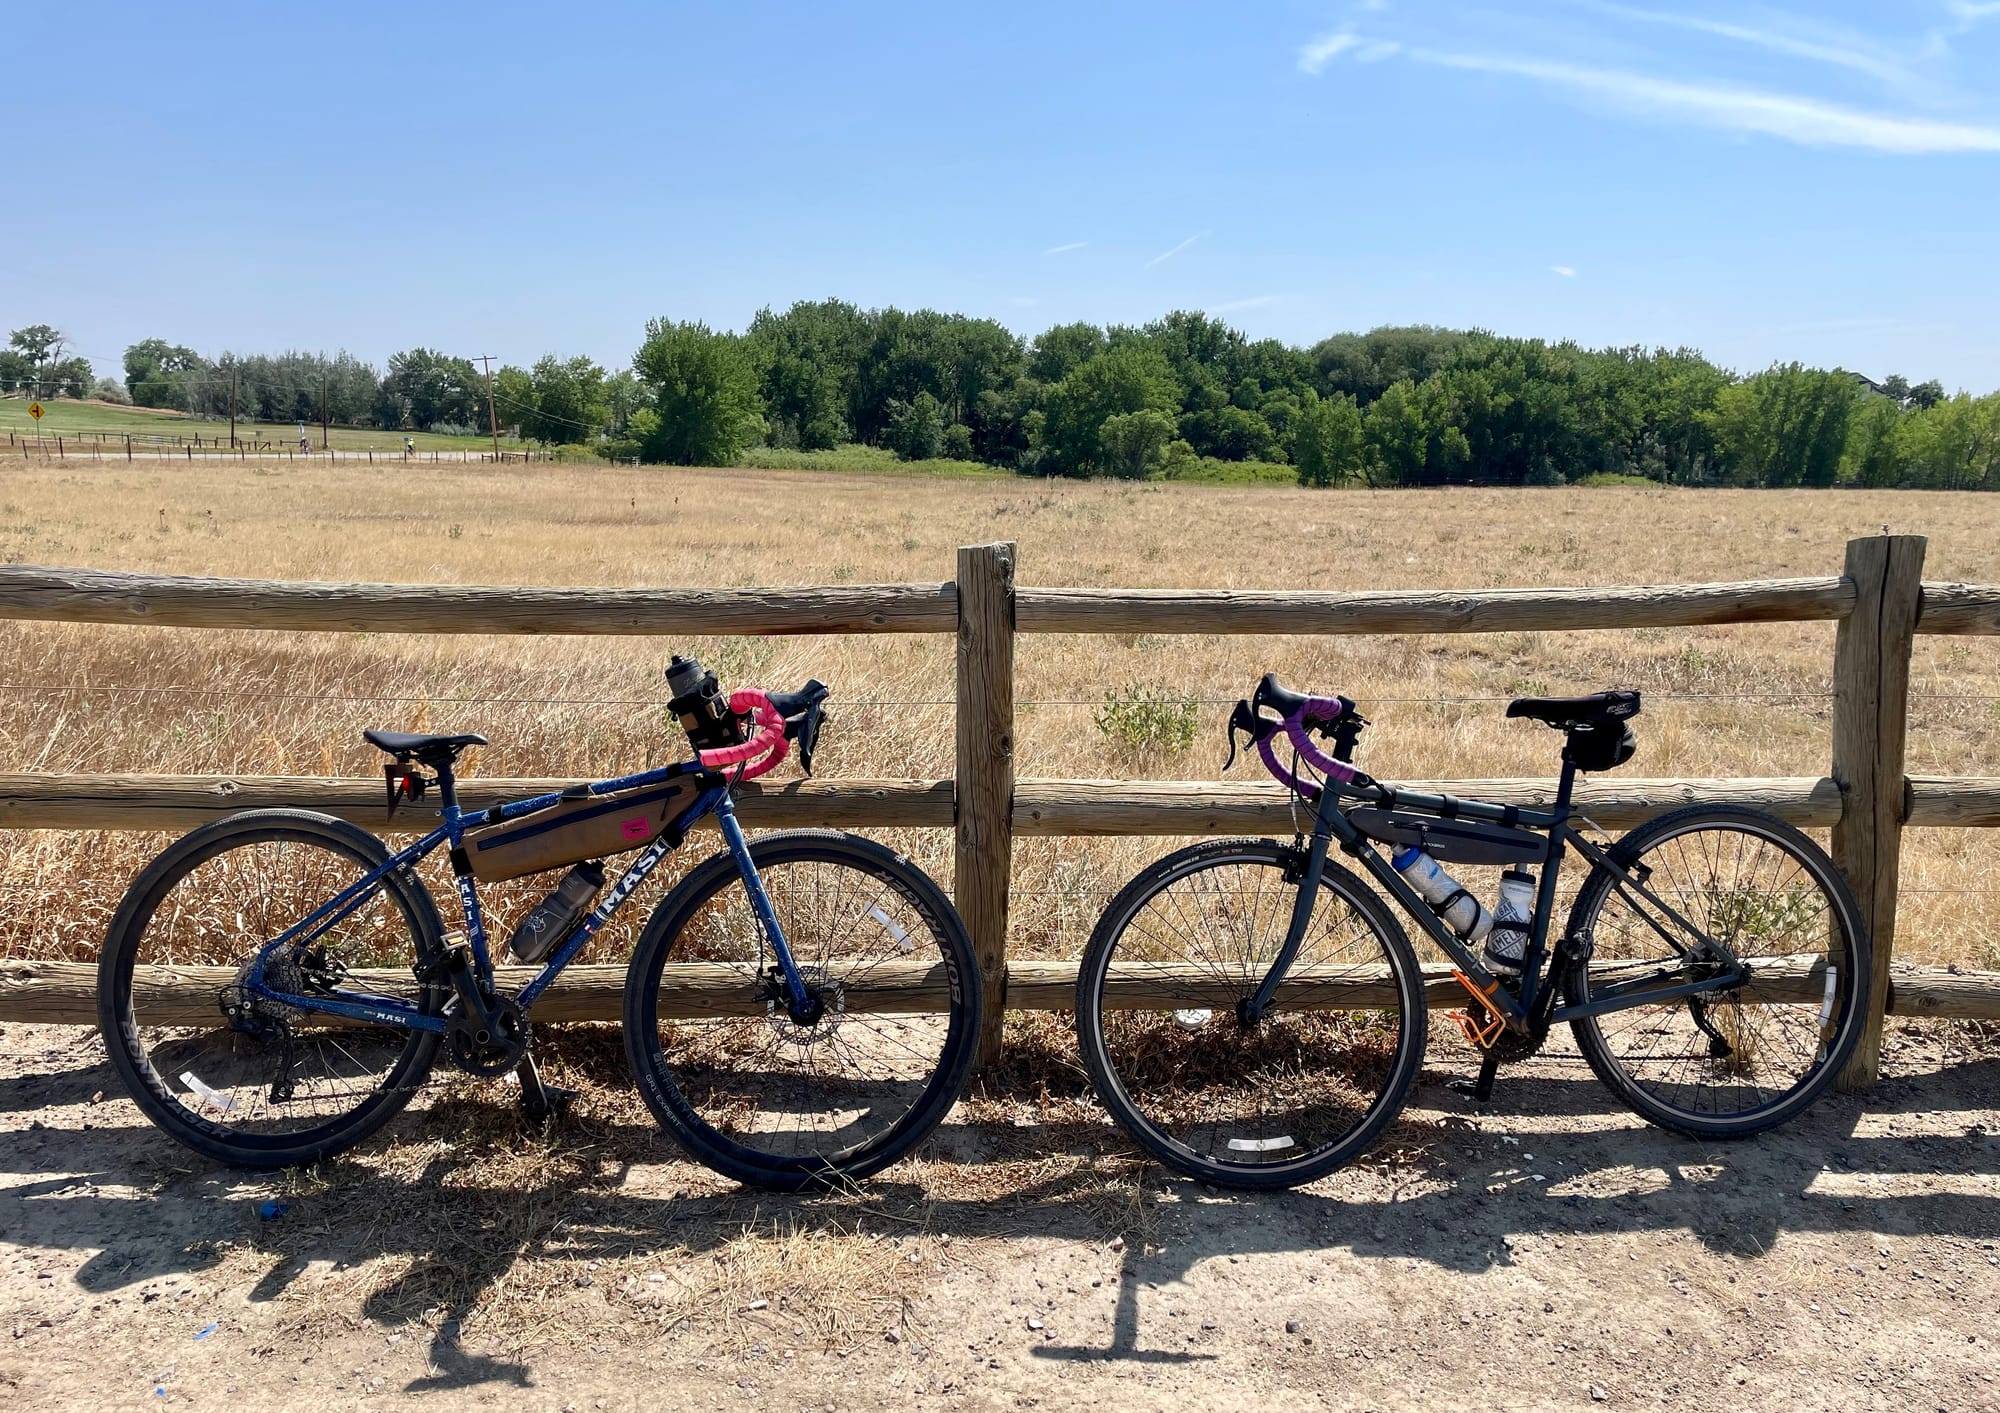
Because I love making work for myself, I decided to fly my Masi Giramondo to Denver for the weekend. Yes, I did this for 2 days of riding. Yes, it was kind of a lot of work but wasn't TOO bad, as you'll read below. And yes, I would do it again in a heartbeat. I loved being on my own bike vs. a rental, although a rental probably would have been lighter and faster than my steel frame.
Problem 1: I had never disassembled my bike before... but would need to, in order to pack it into my Ground Effect Tardis bike bag for traveling.
Problem 2: My partner Daniel is the bike guru/builder/mechanic in our household. He built up both of my bikes (and his Tumbleweed Prospector) himself and does 99% of the bike work around here. But he was back in Australia for 6 weeks, so he wasn't going to be able to help much, at least not with the physical labor.
Cool cool cool cool. It was time to roll up my sleeves and learn some new skills. And pray I didn't break anything. (Actually, I wasn't too worried about breaking things permanently – I felt like anything I disassembled could probably be put back together again – but I wanted to (a) not forget what I did so I could reassemble my bike on the other side and not be left with a pile of parts, and (b) do a good job packing and securing everything so the bike would stay safe in transit.)
This is where Daniel stepped in for an assist from afar, and gem that he is, typed out a step-by-step document for me laying out steps of what to do and what not to do. This is a great example of how well he knows me and how he leaned into my affinity for lists and instructions. We also had a fun FaceTime where I pointed my phone camera at various screws on my bike, and he would say, "Yep, that one" or "No, I already told you not to touch that one." He is a very patient teacher and I love him for it.
That's how I found myself on a Sunday, Paris Olympics streaming in the background, taking apart my bike for the first time ever in my apartment kitchen. Getting the back wheel out was a little tricky with the derailleur, and I always forget which way to turn to remove the pedals, but besides that, most of it was actually pretty simple. I was a little concerned about the well-being of my derailleur attached to the frame. It still felt quite vulnerable to me, so here I hemmed and hawed and asked people on social media for their advice and opinions. After my millionth question, Daniel finally texted me, "Chuck it in the bag and be done already," so that's what I did.
I'll probably write another post specifically on how I packed my Tardis bag, so I won't go into too much detail right now about the packing process, but here are some pictures of the breakdown and bagging:
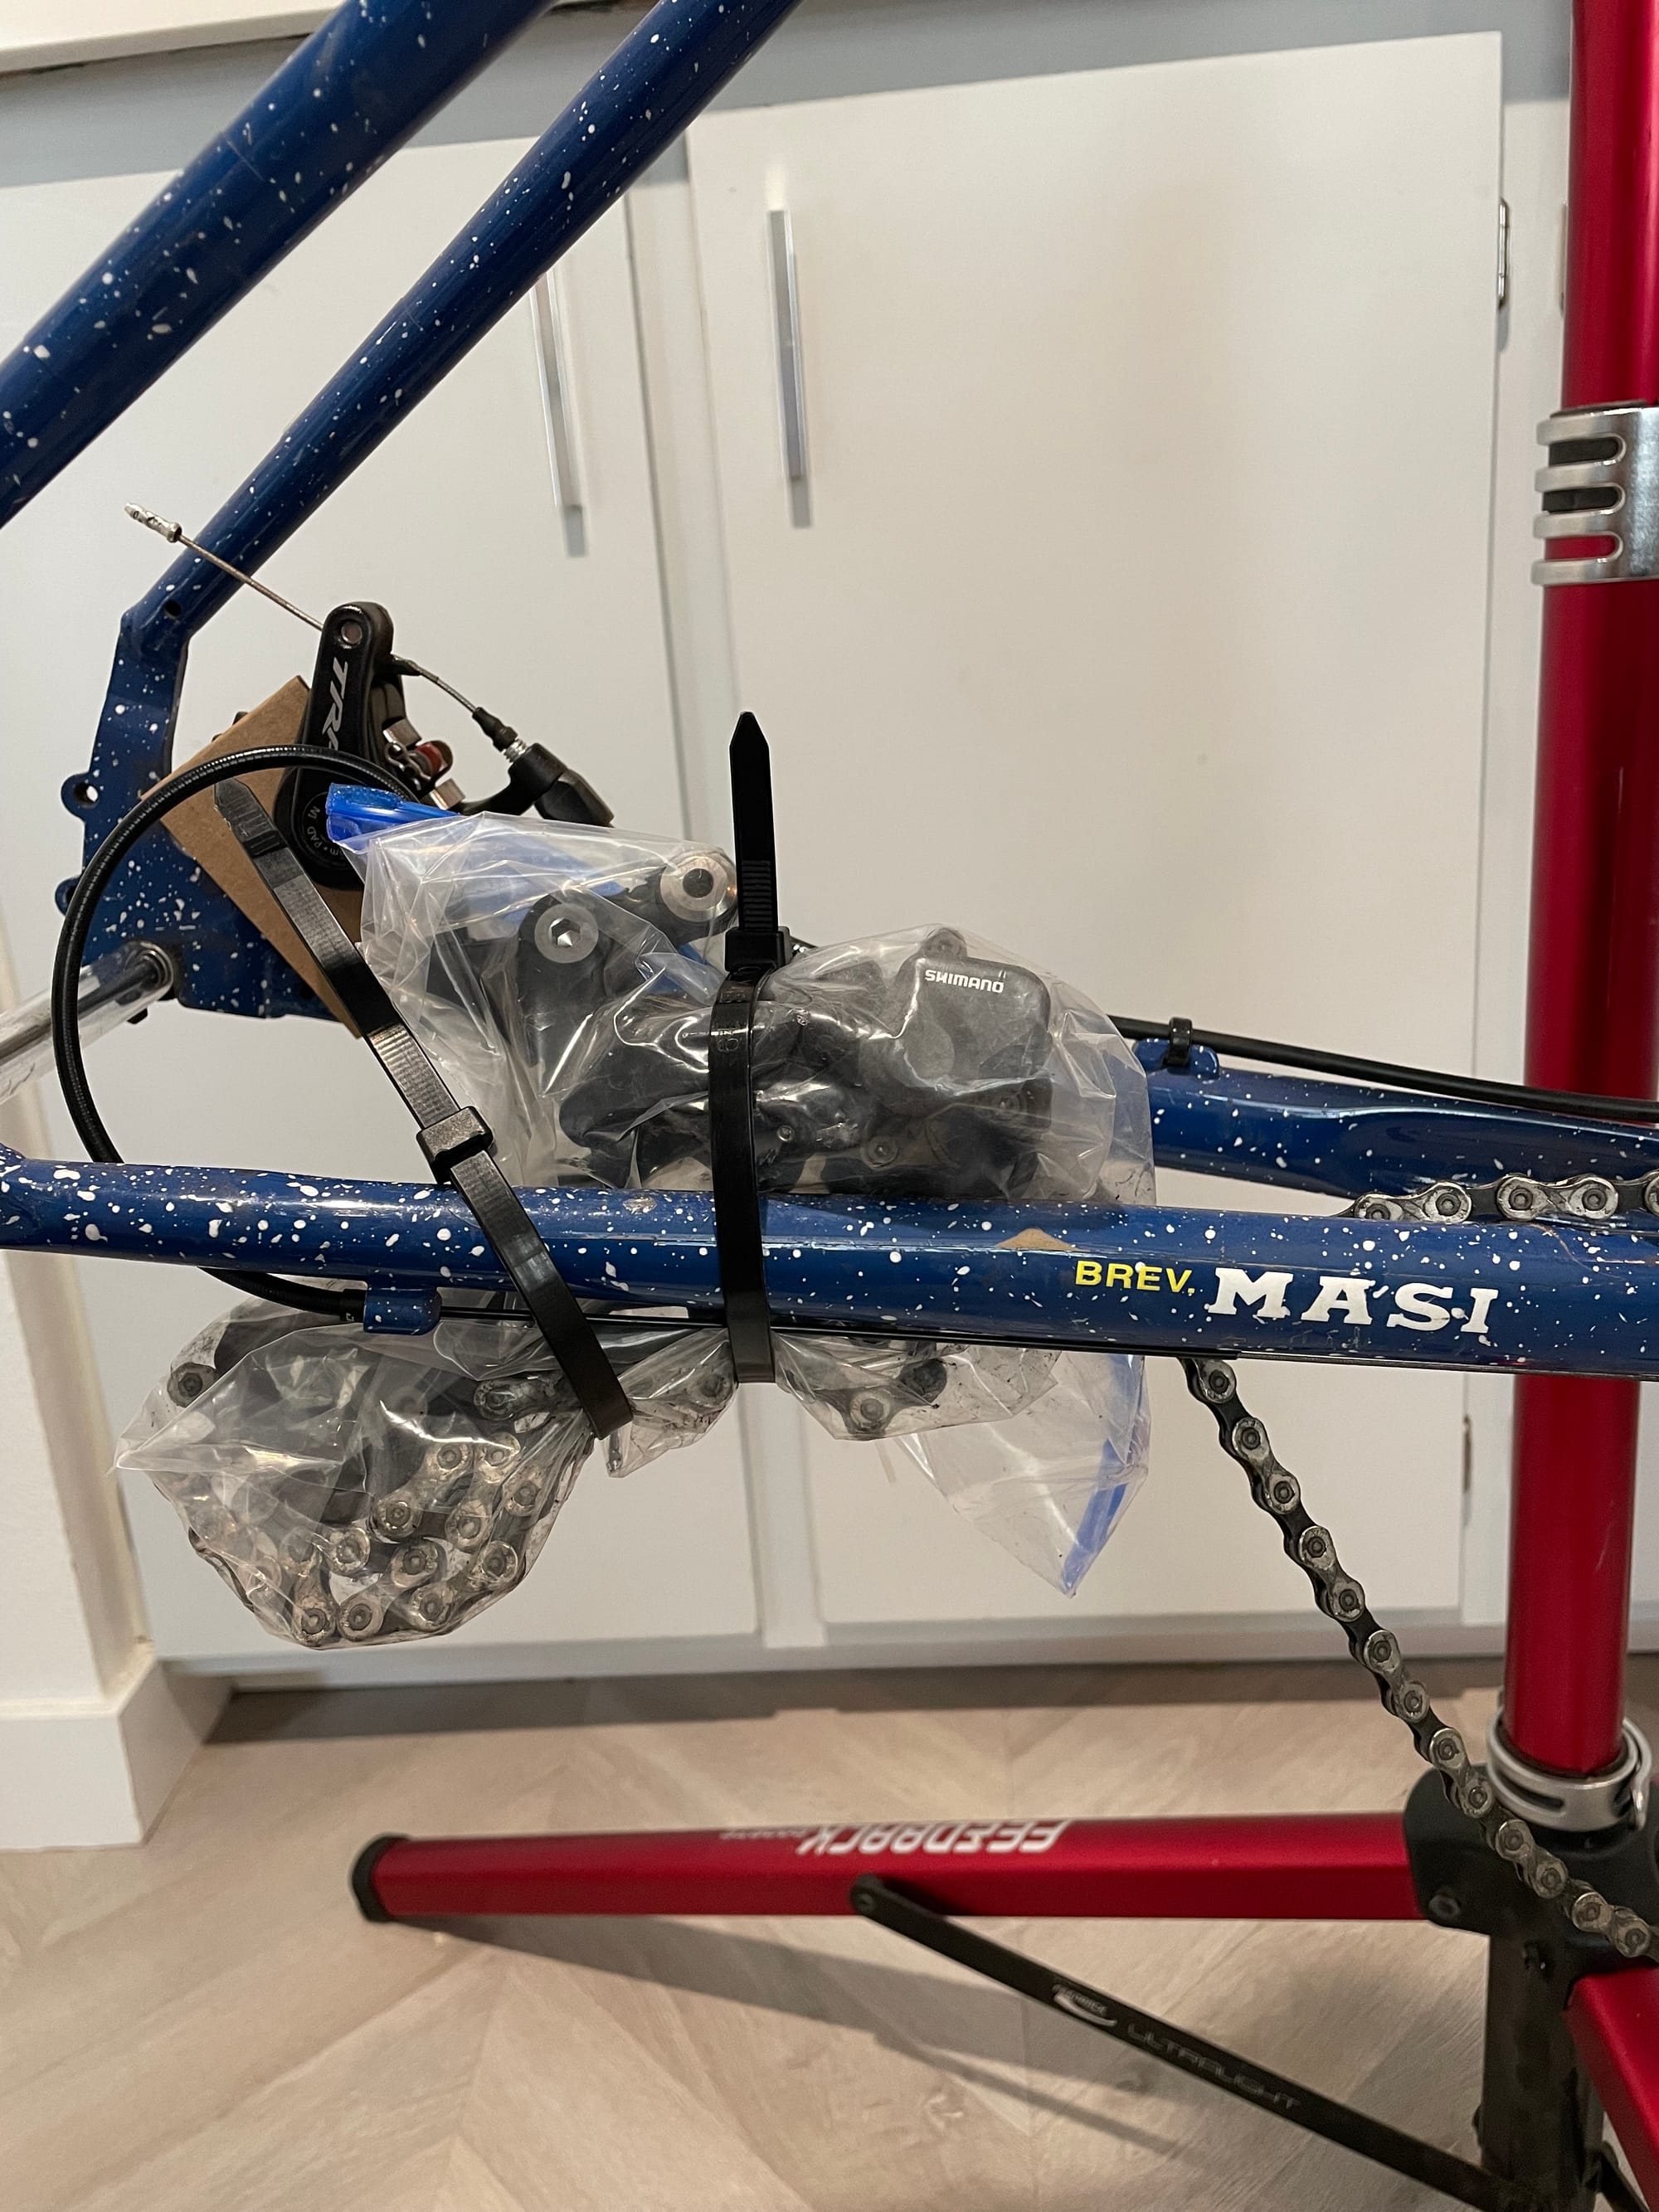
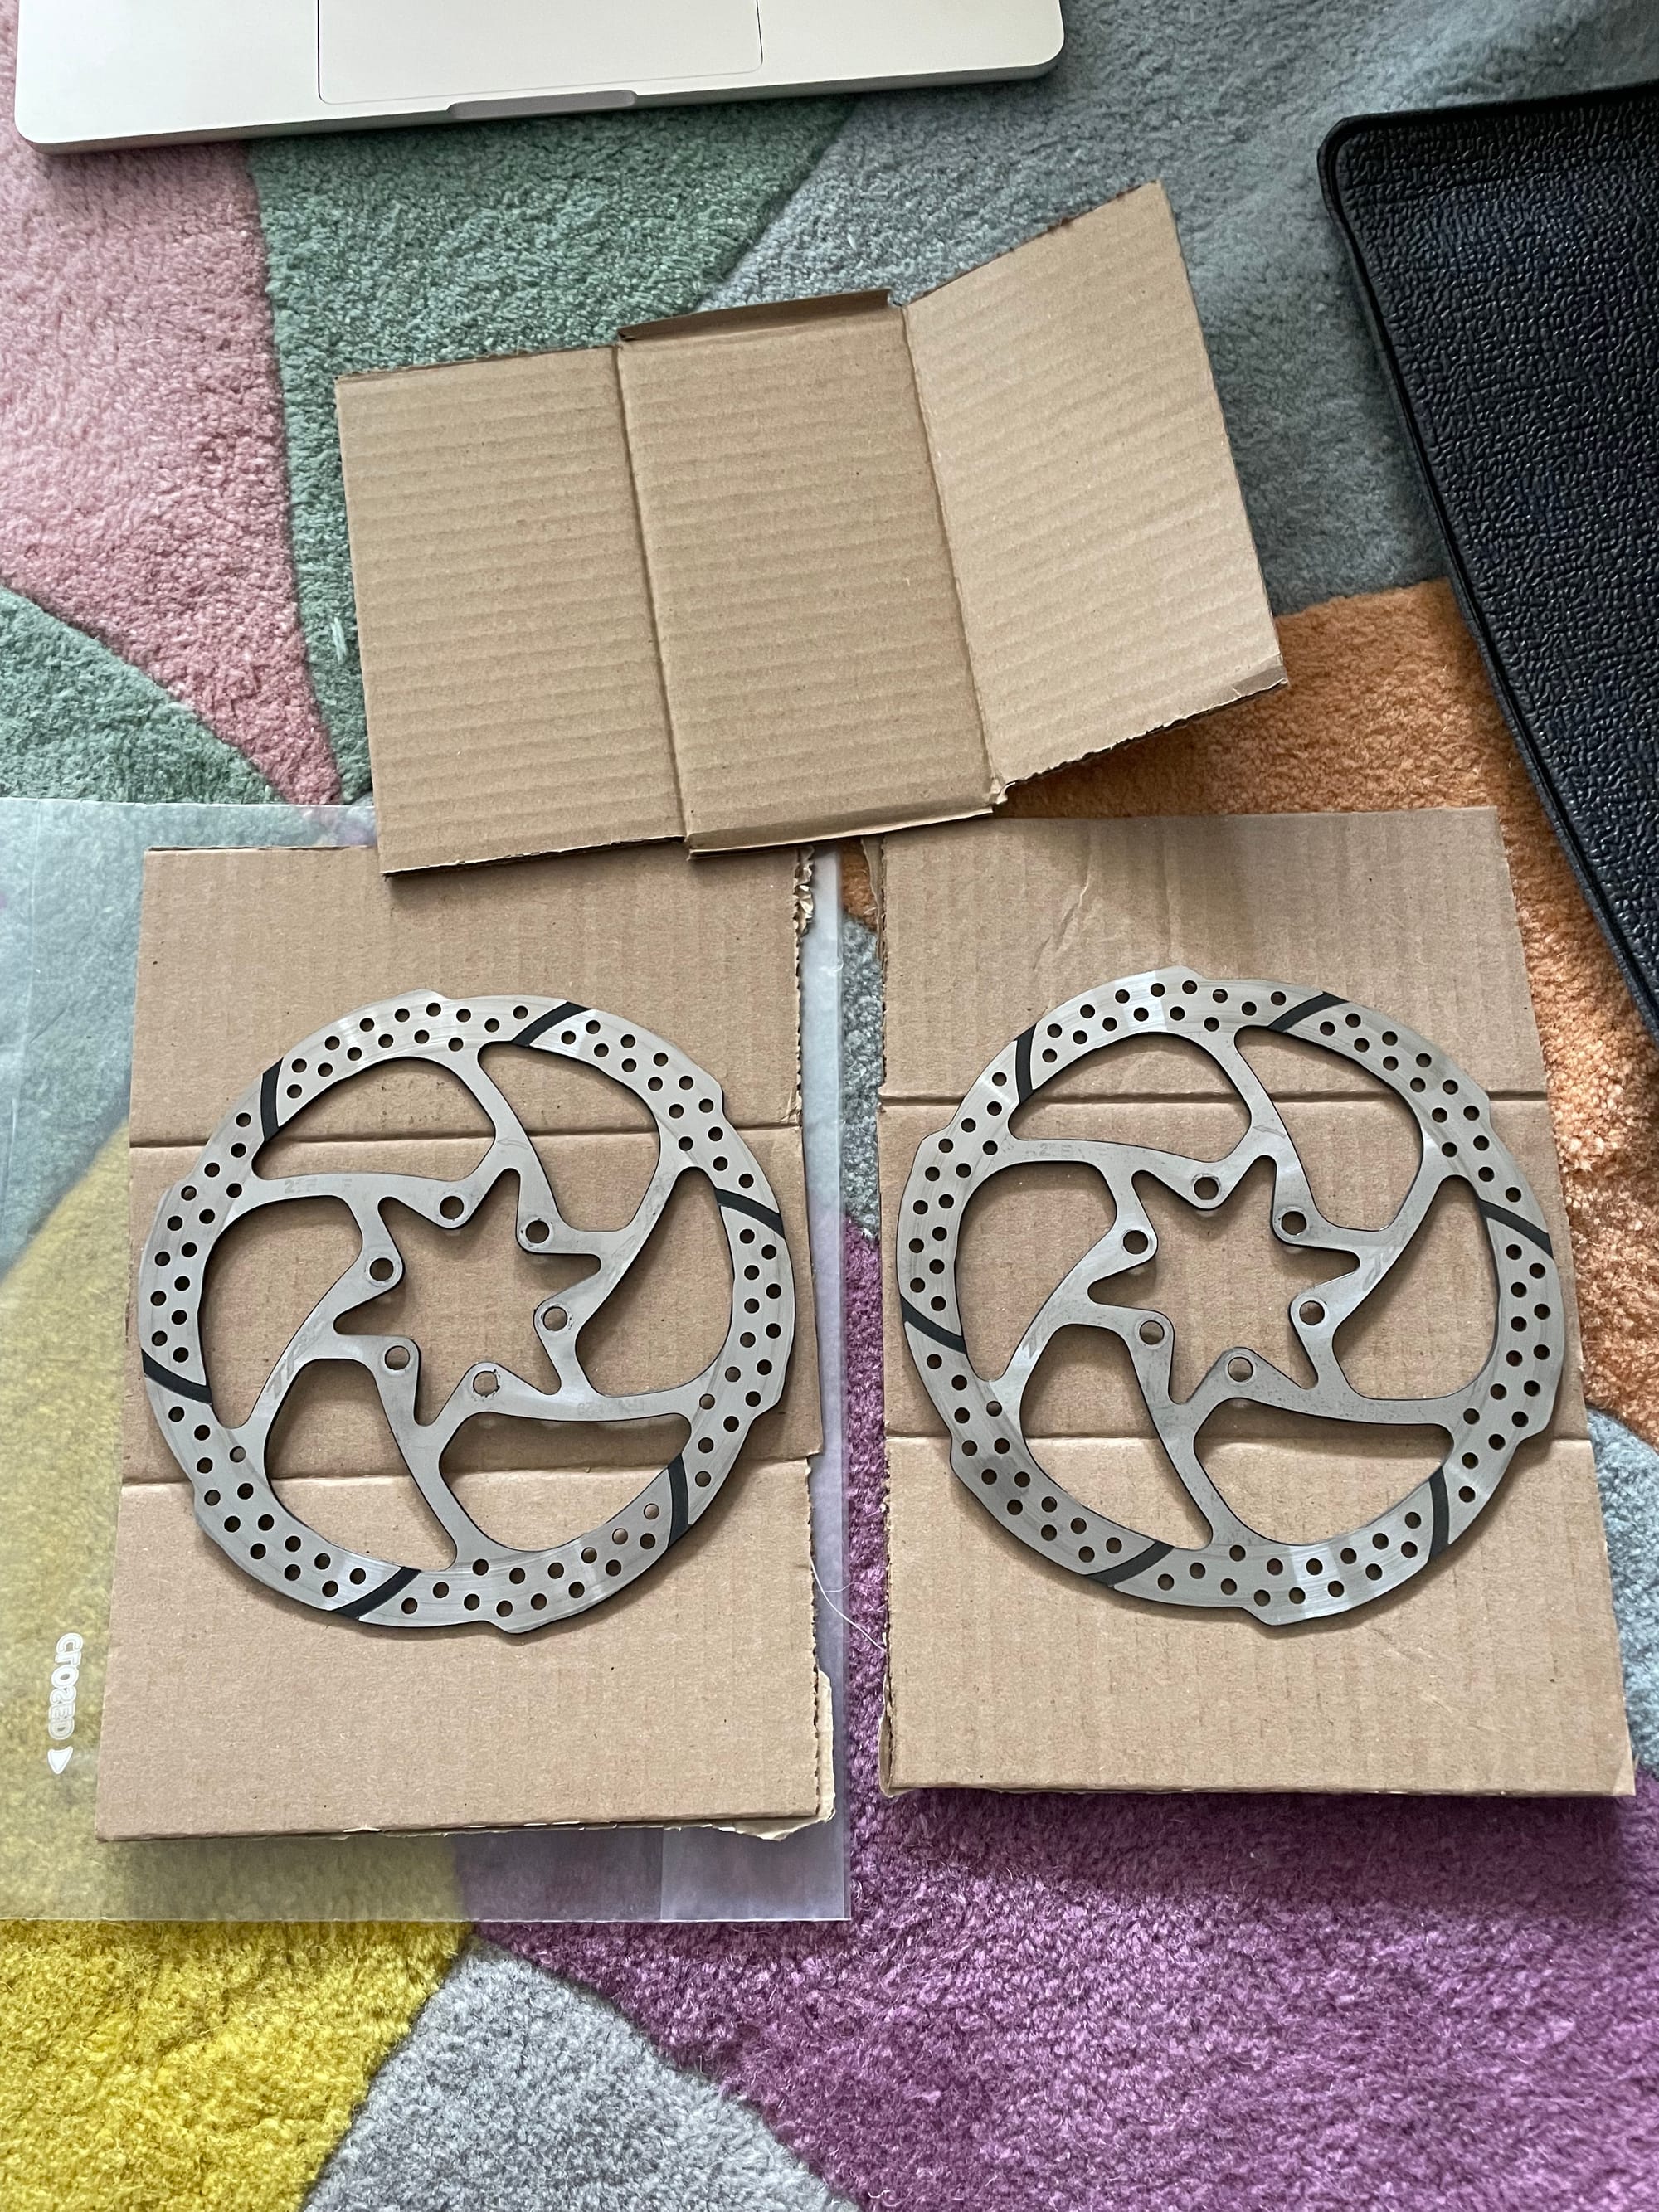
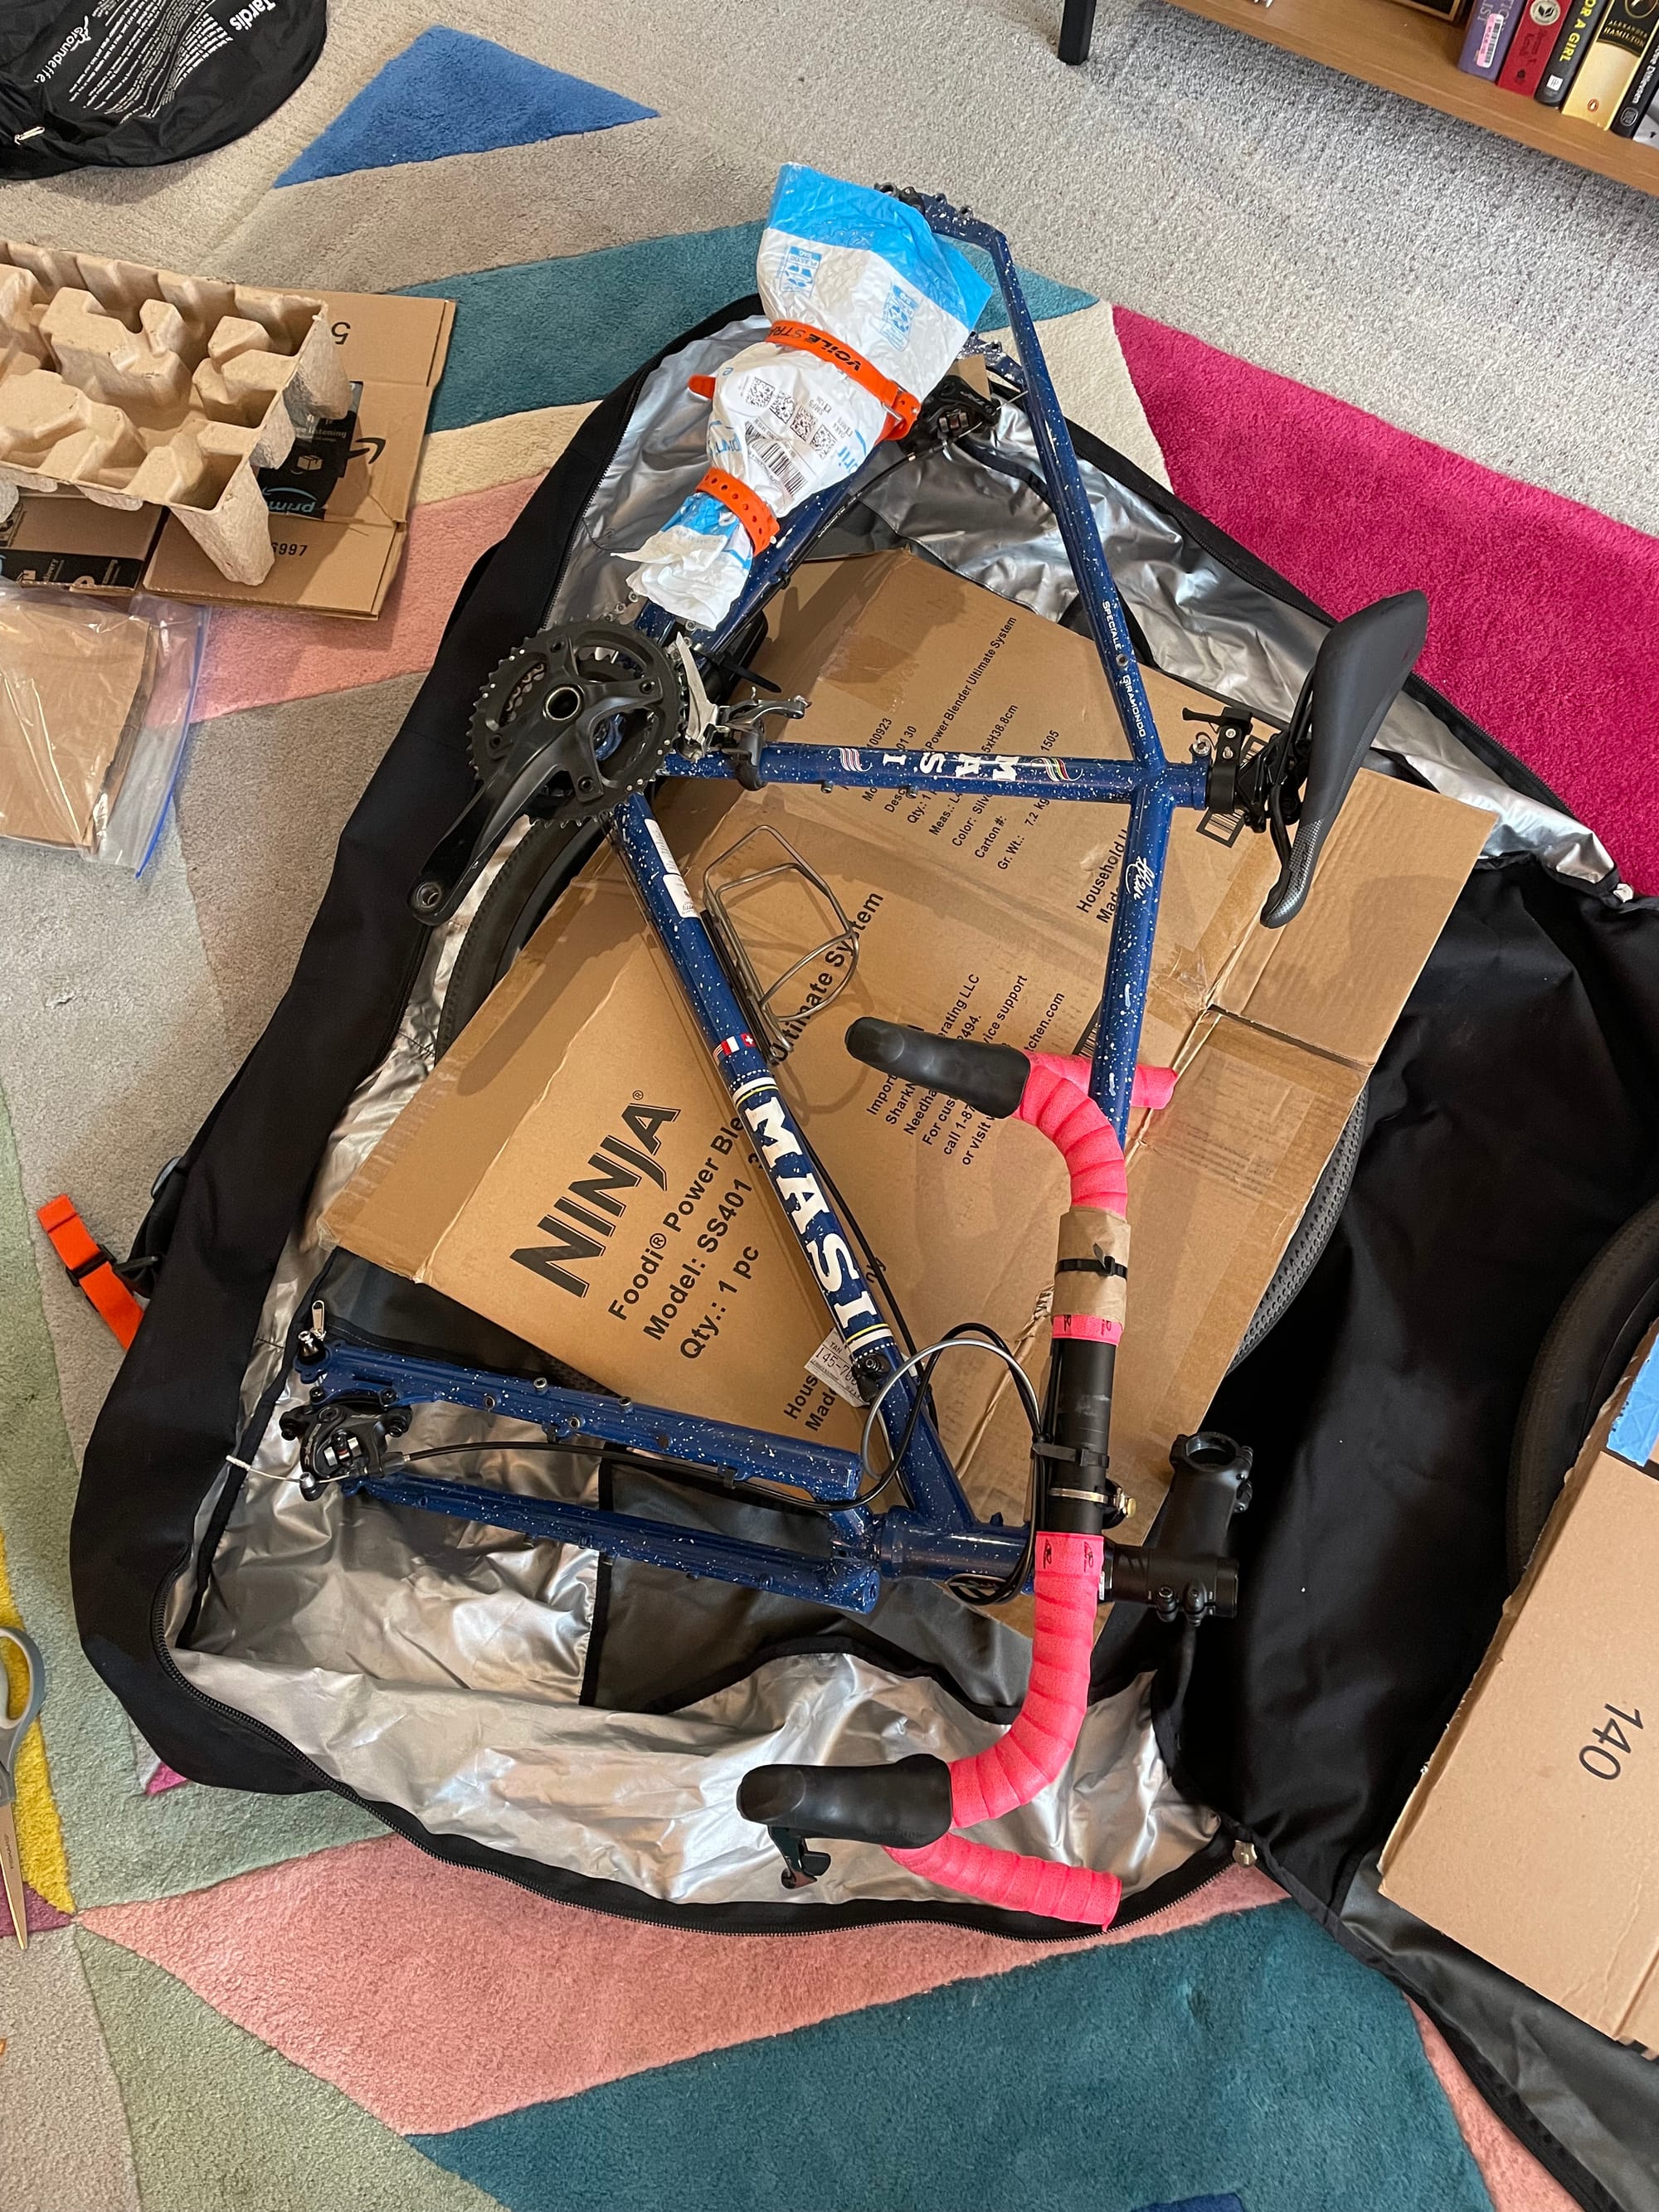
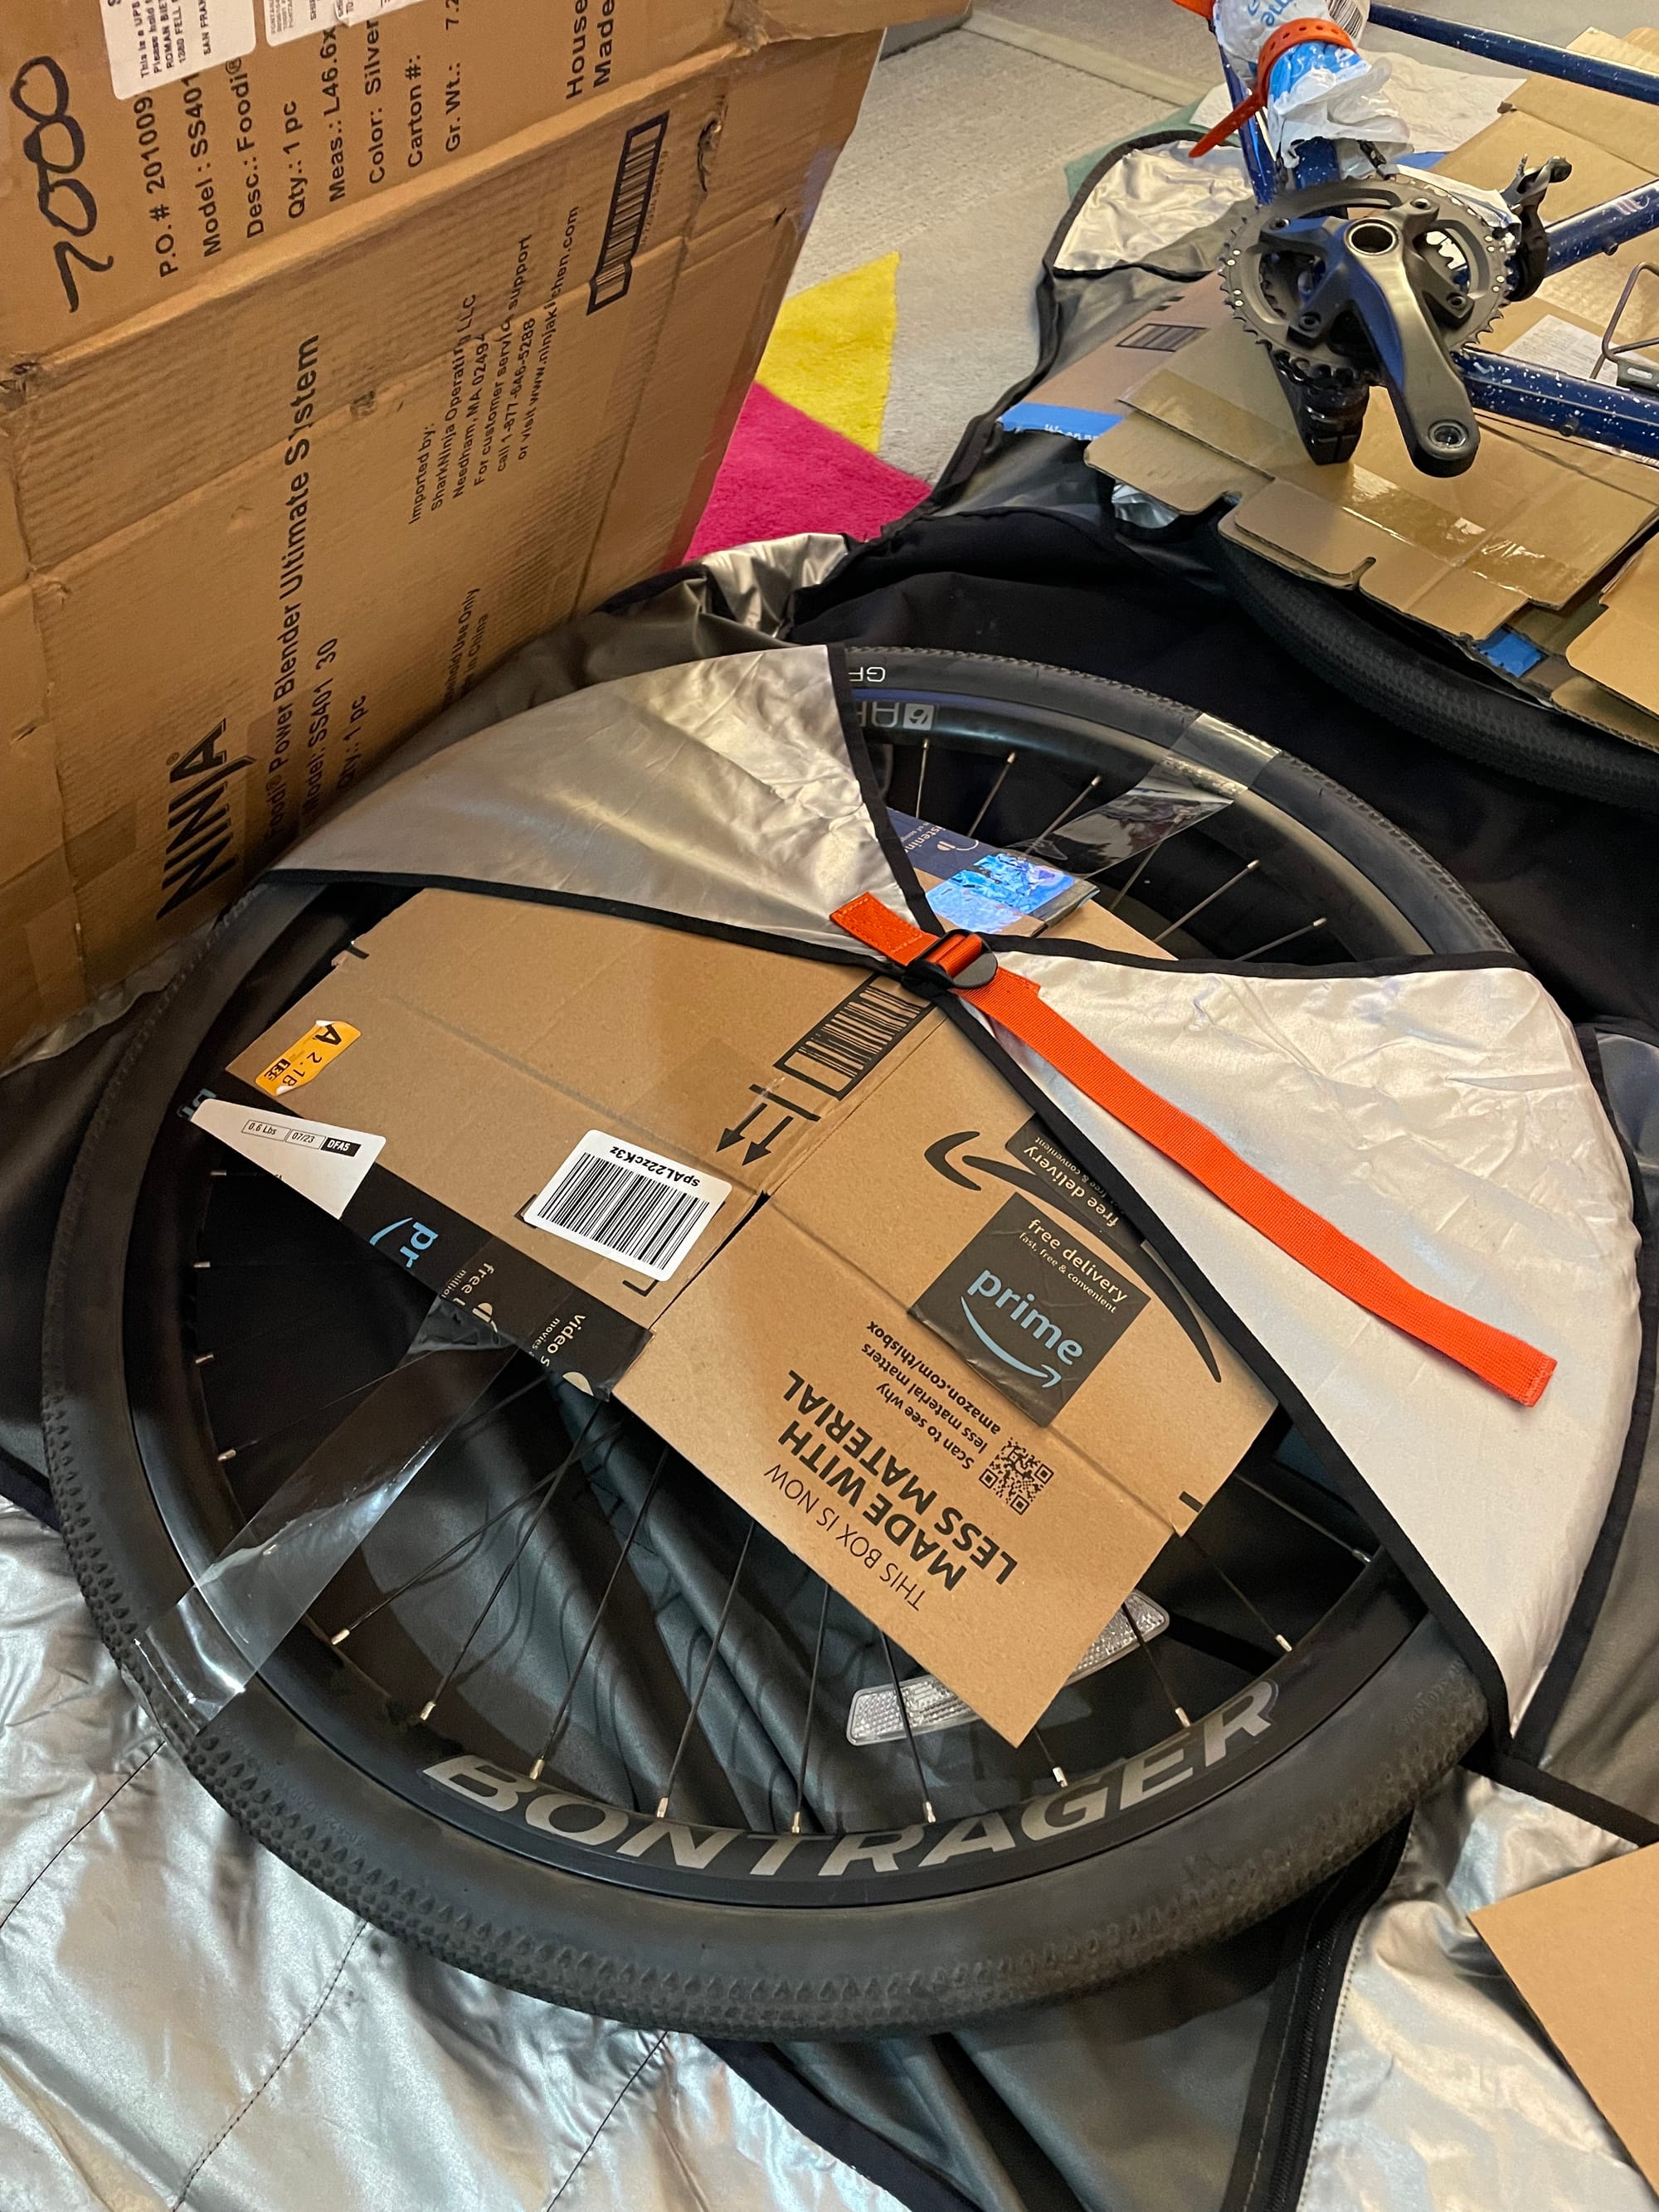
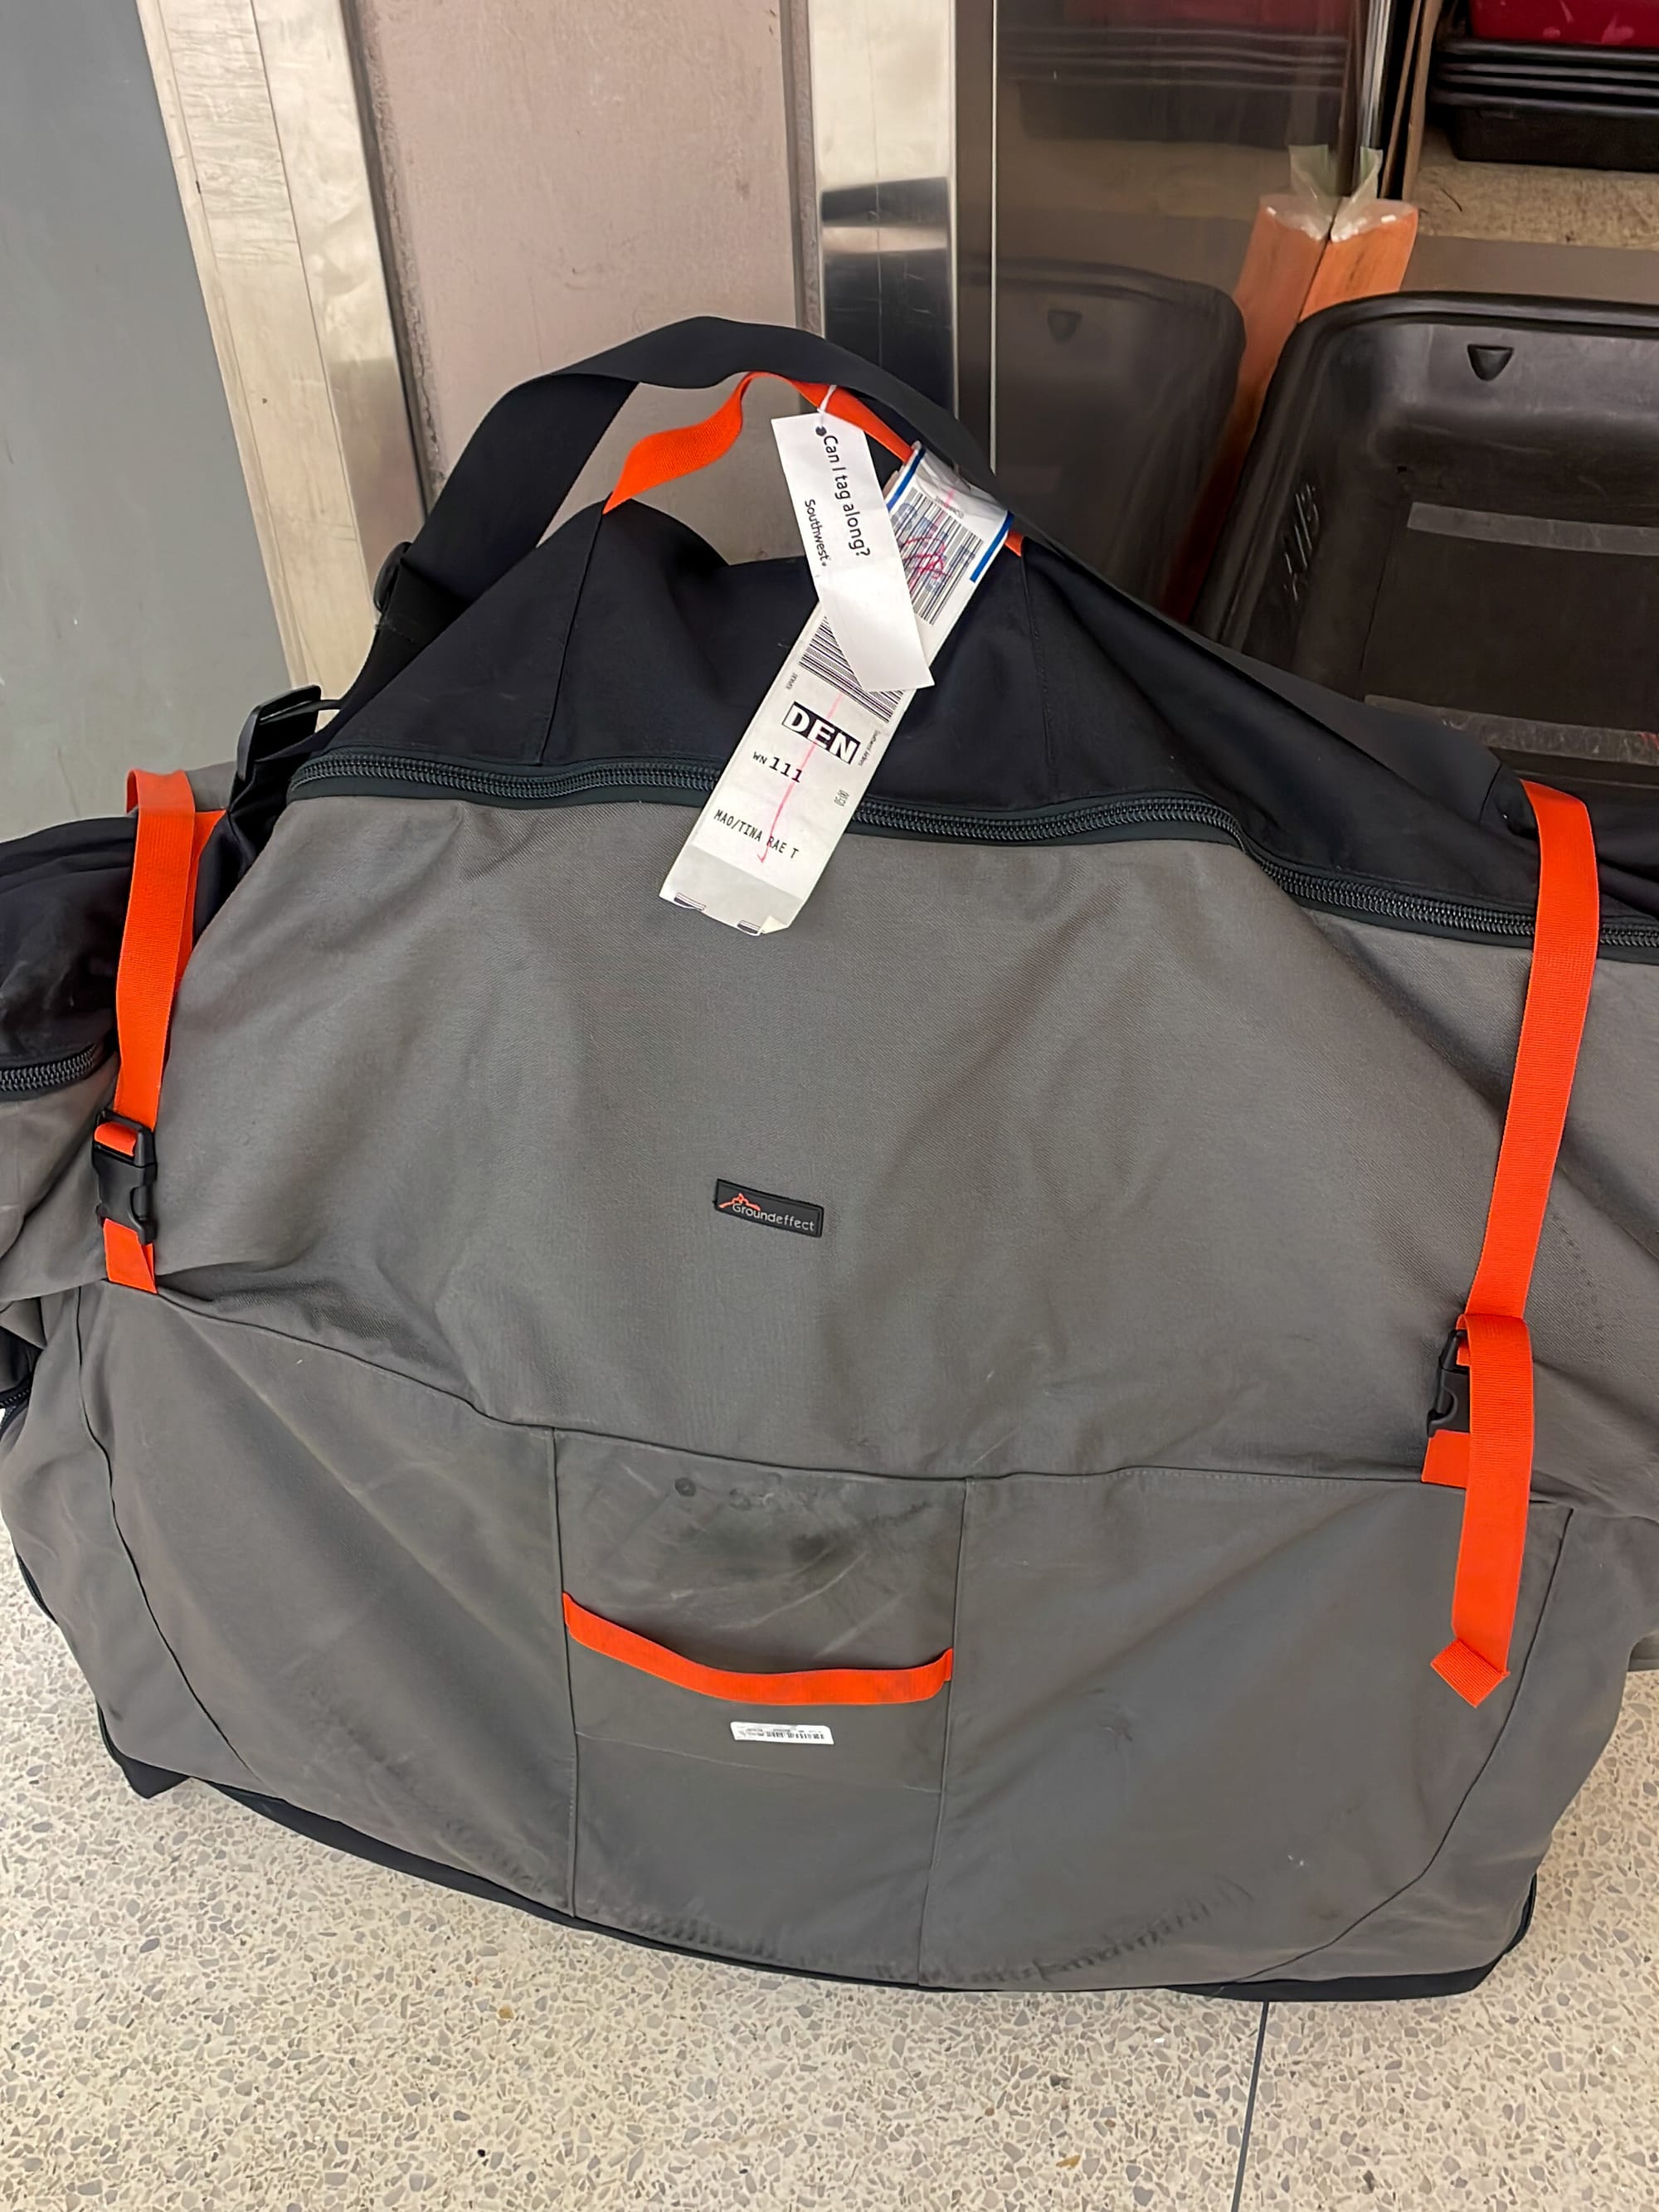
Packing my Ground Effect Tardis bike bag: I removed my derailleur and secured it to the frame, removed my disc brakes, unscrewed the handlebars and secured those to the frame (leaving all cabling and the stem bolt untouched), used lots of zipties and cardboard, and voila! A packed bike bag.
The Tardis worked beautifully, even if it was a nerve-wracking experience to watch my bike disappear with the rest of checked luggage at the airport counter. My bike arrived safely in Denver (and then again on the return trip to SFO), but one note about flying with it: I traveled on Southwest Airlines and thought I'd be able to use one of my 2 free checked bags for my bike bag, but I didn't realize they have a special sporting equipment clause where they'll charge $75 each way for bikes.
Their policy reads:
Bicycles (defined as non-motorized and having a single seat) properly packed in a bicycle box or hard case from 51 to 100 pounds in weight or 63 to 80 inches in total dimensions. Pedals and handlebars must be removed and packaged in protective materials so as not to be damaged by or cause damage to other baggage. Bicycles packaged in cardboard or soft-sided cases will be transported as limited release items. Bicycles over 100 pounds in weight and/or 80 inches in total dimensions cannot be checked as baggage and can only be shipped as Cargo if the Customer is a Known Shipper.
Note: their baggage size max is 80 inches in total dimensions (length + width + height), and they have the right to refuse bags larger than this, which most bike boxes and bags would be. Luckily, I was right at the cusp, and I think it helped that I have a smaller frame and was able to cinch my Tardis down tightly to reduce the size. Later, on my way back to San Francisco, I learned that an oversize bag fee (anything larger than 62 inches up to 80 inches) is $125, but thankfully, I didn't get hit with this additional fee, "only" the $75 bike fee each way.
I should have checked the baggage policies earlier before booking my ticket/deciding to fly with my bike, so that extra spend is totally on me. I've since learned that United, American, and Alaska will let you check your bikes as standard luggage, so you can avoid extra bike fees if you fly with them.
The Routes
Colorado shows off.
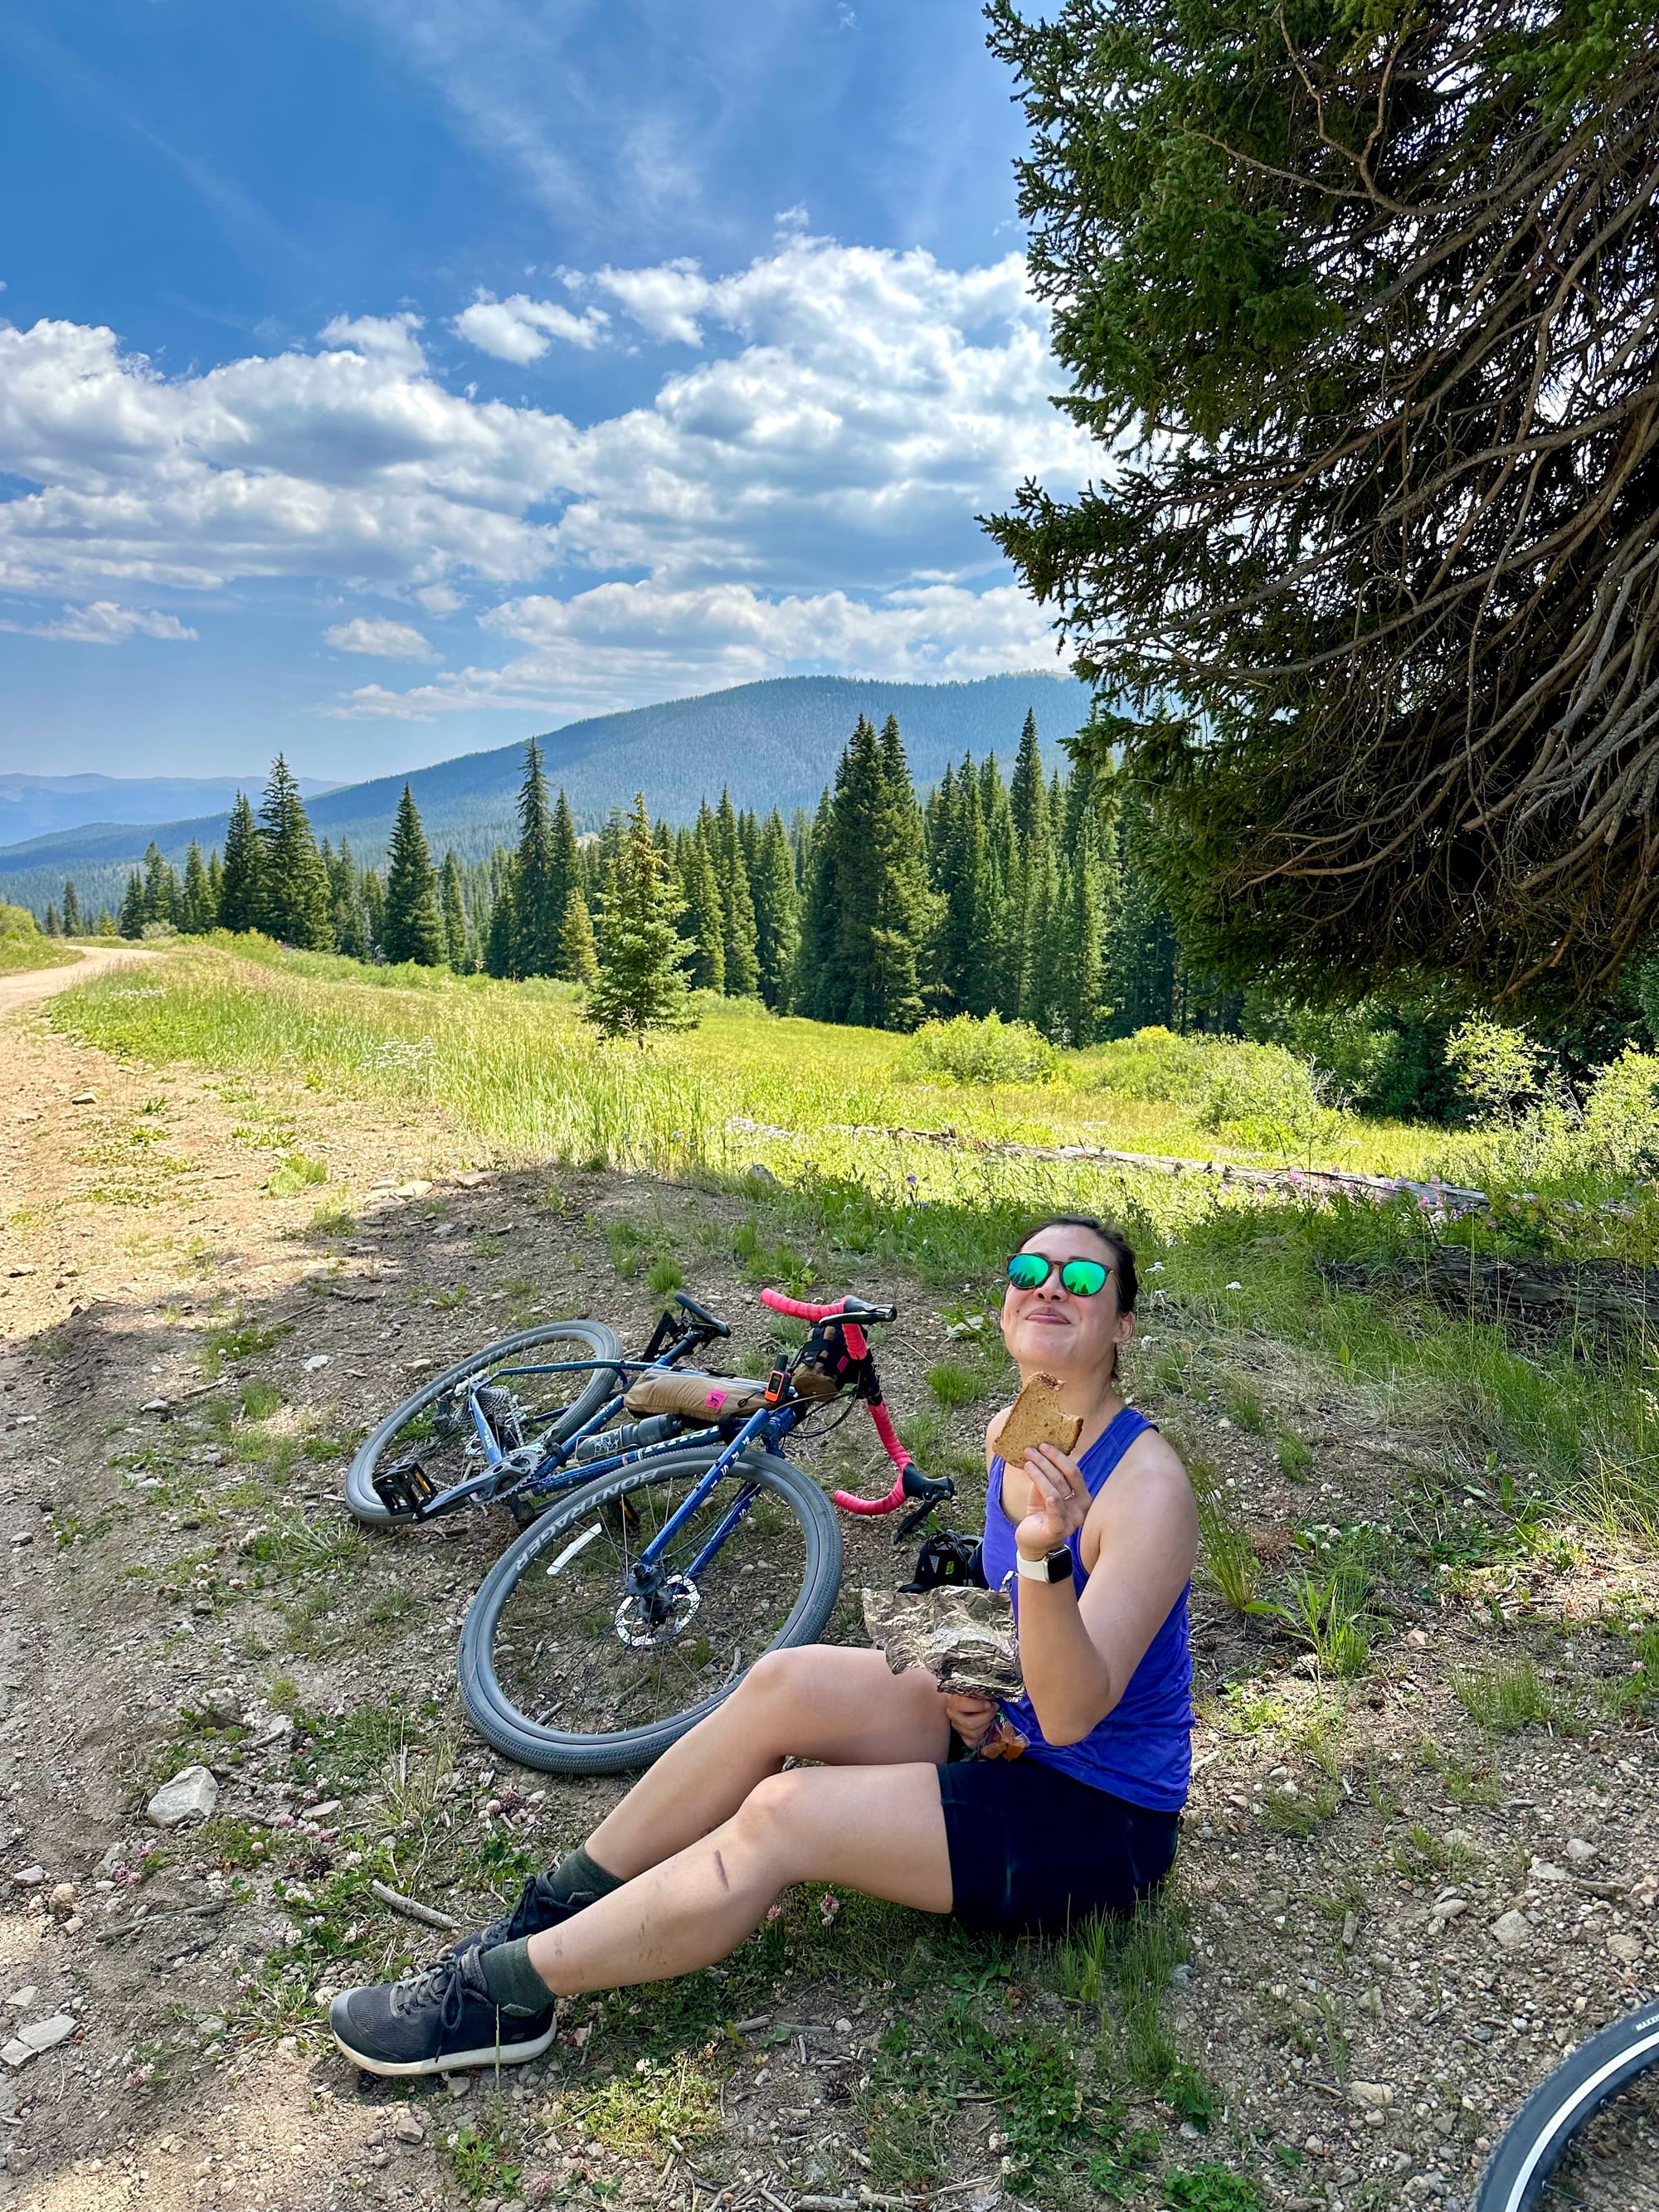
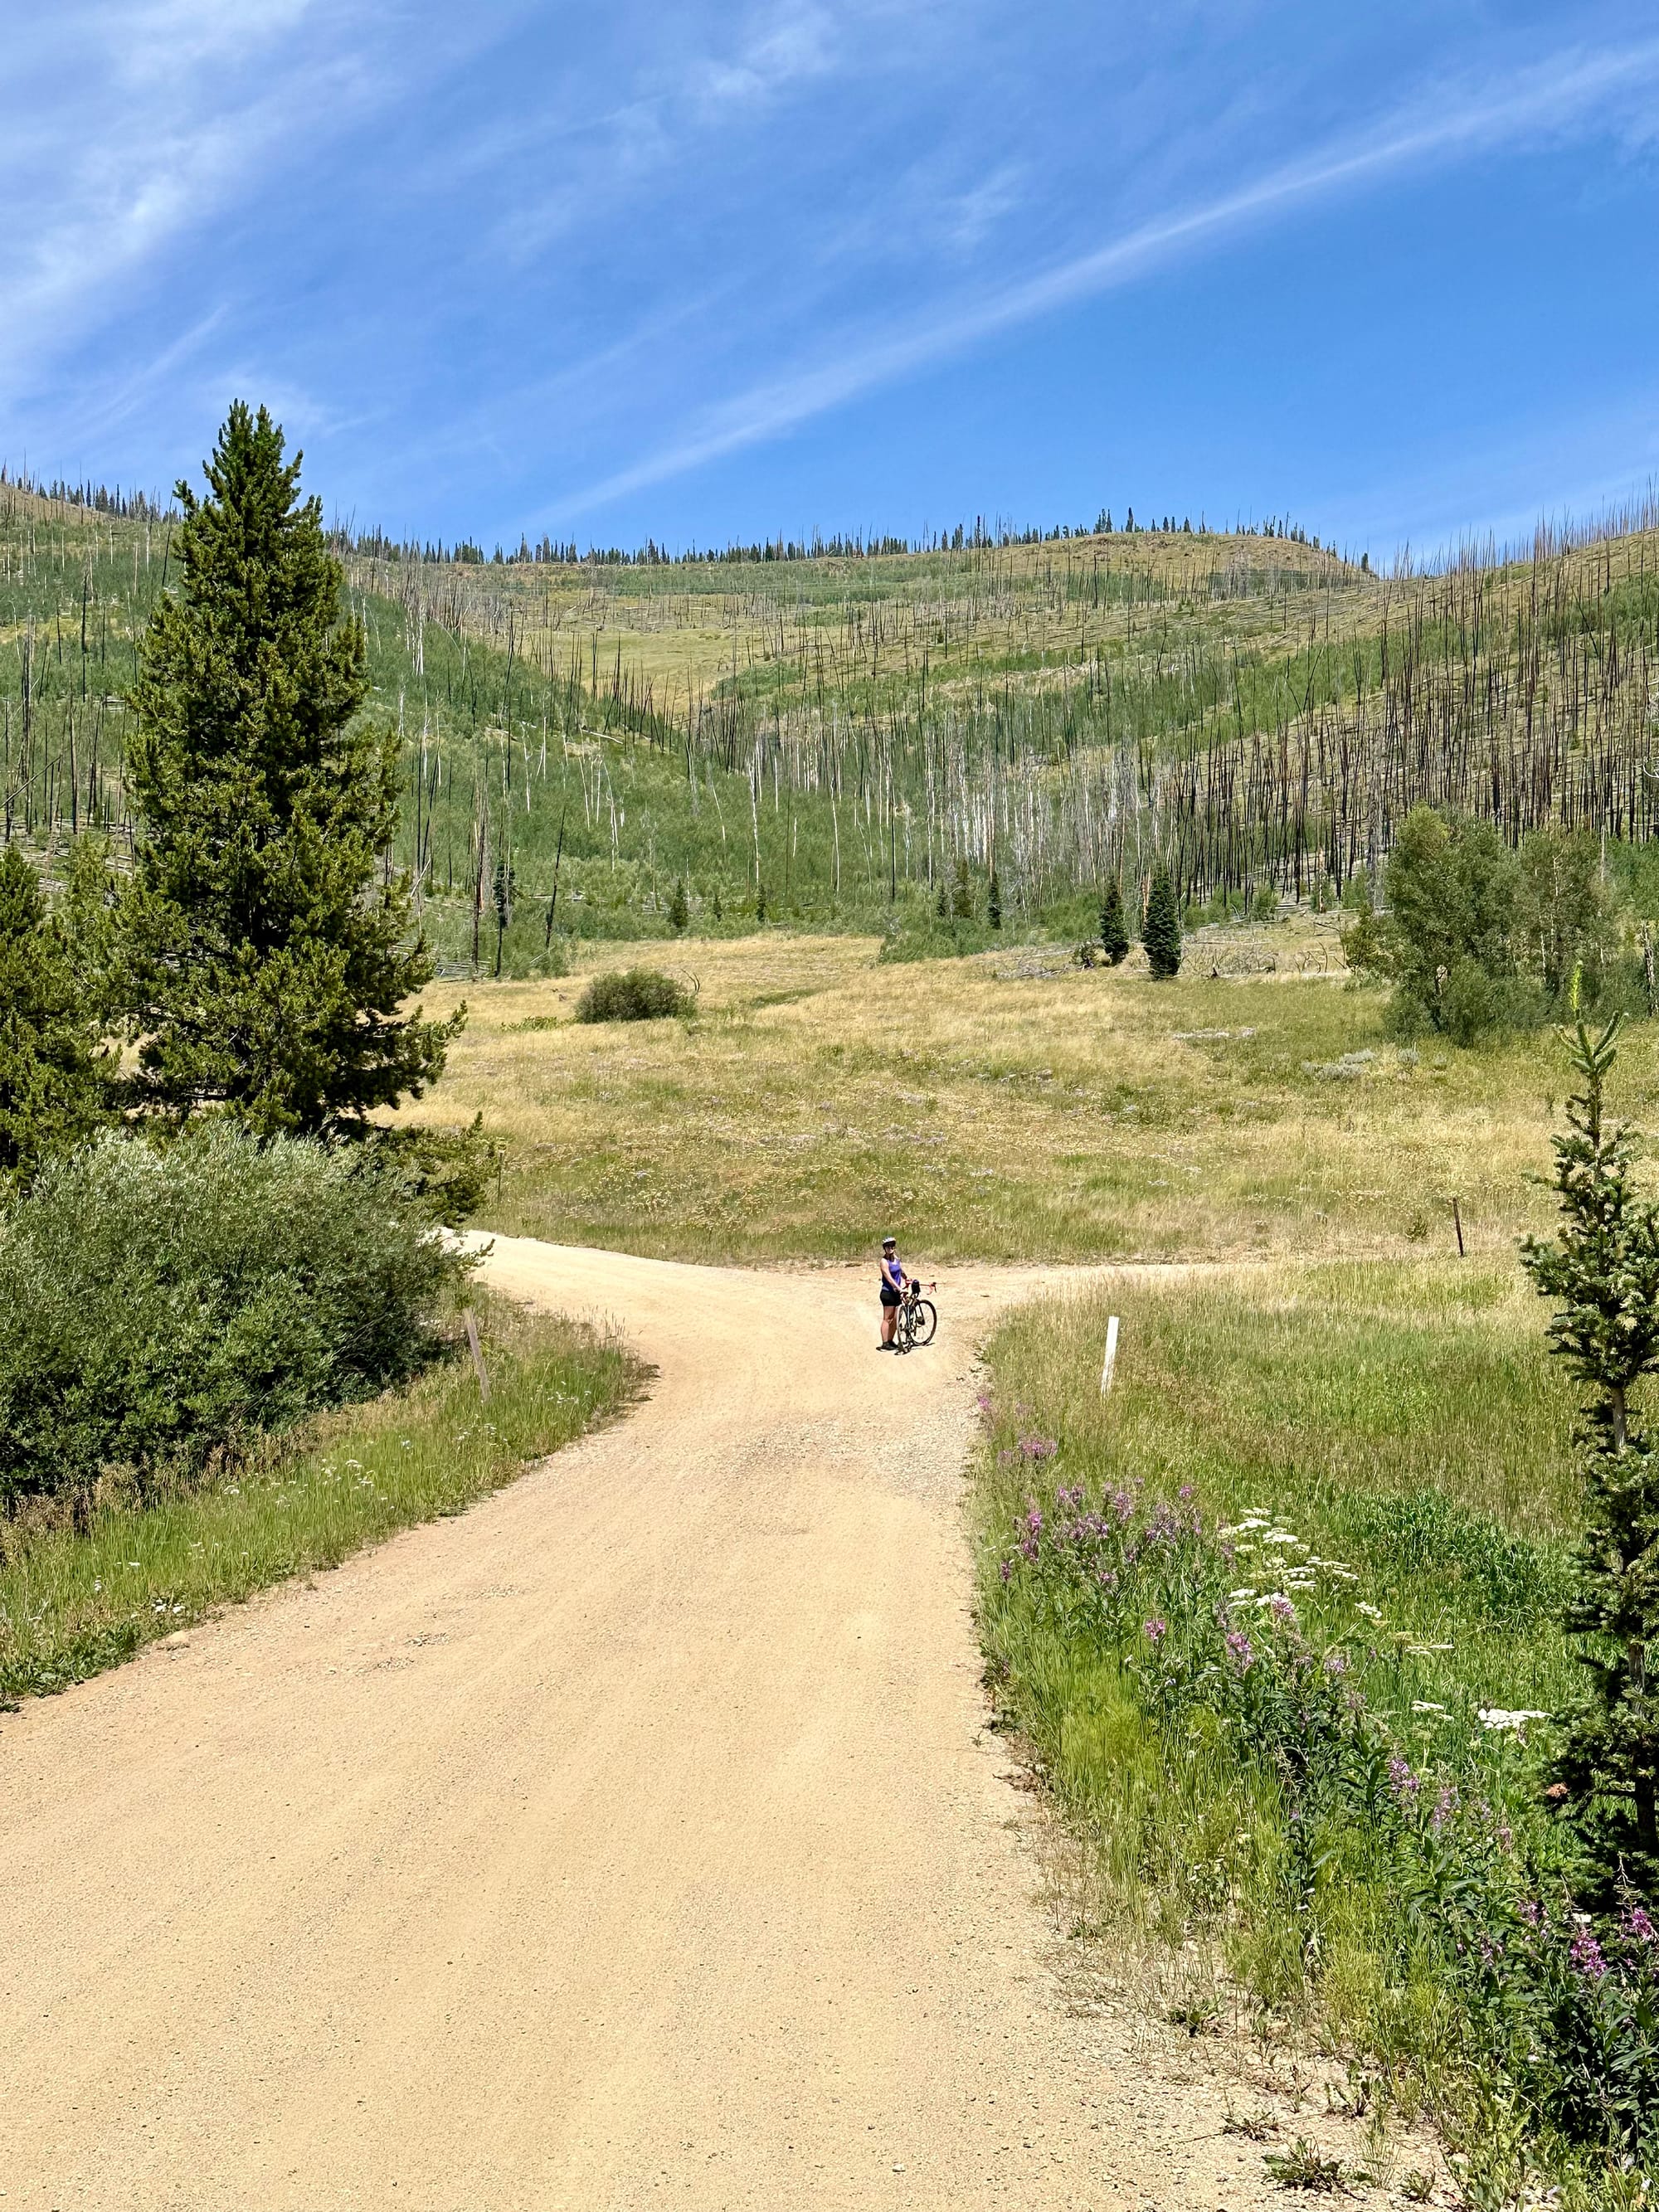
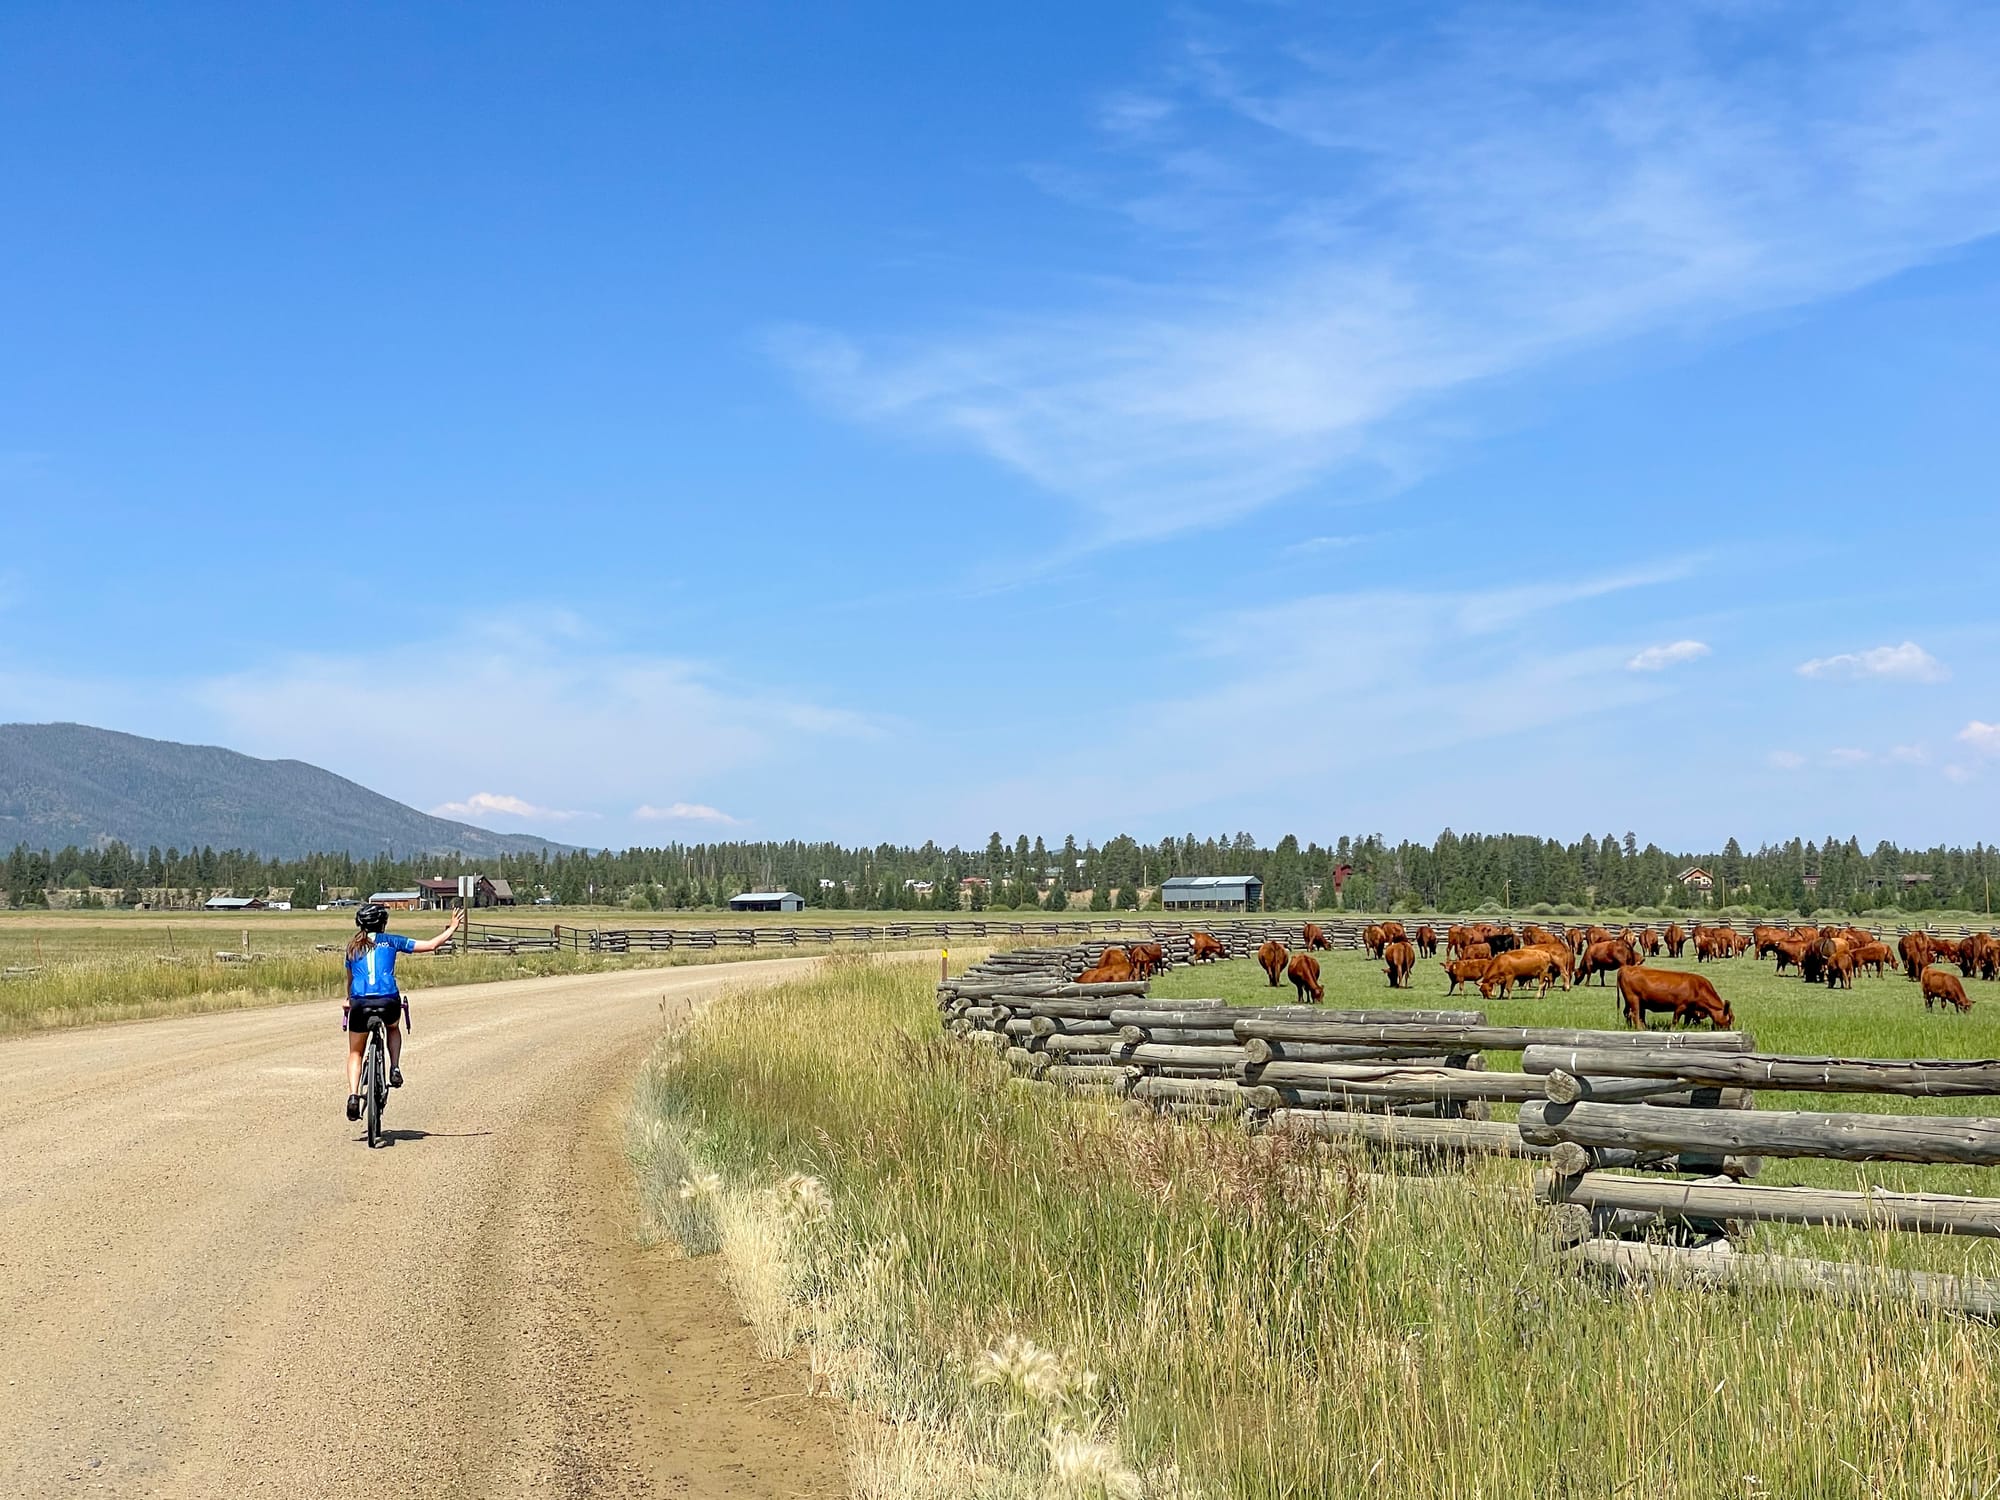
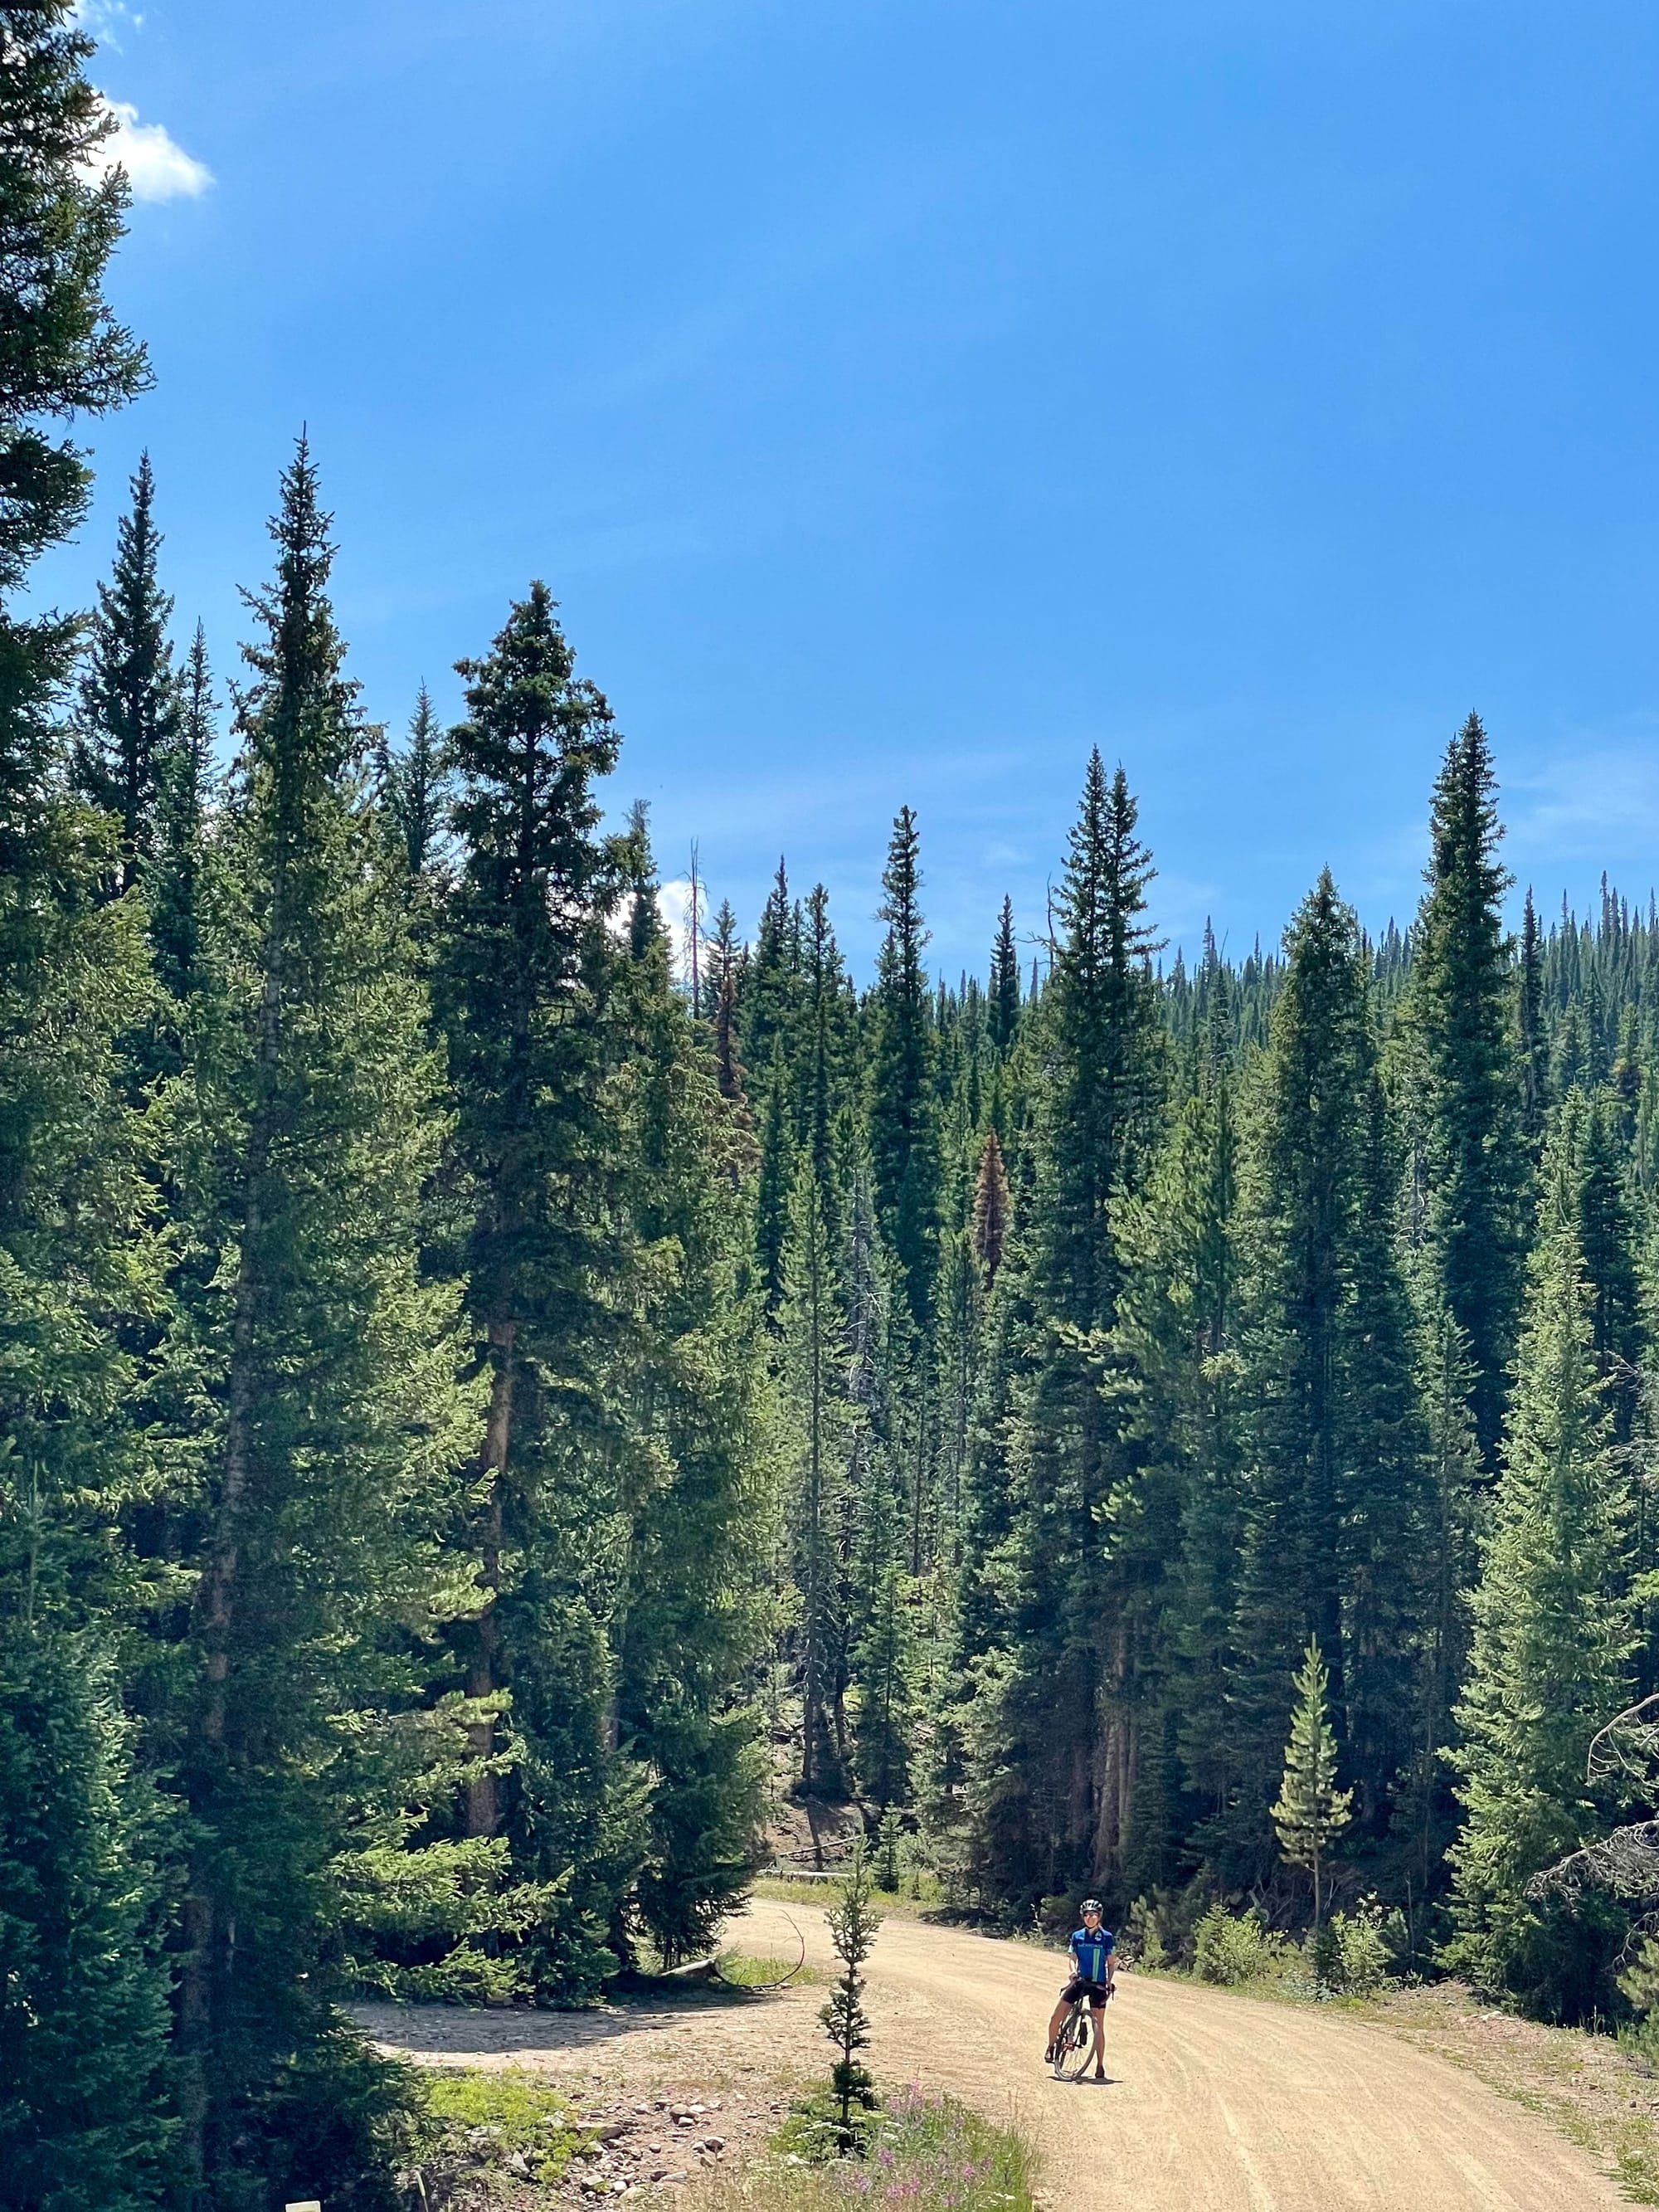
Since we only had a weekend, we didn't want to waste too much time driving around Colorado, so we decided to make Saturday our bigger trip with a longer ride in Winter Park (1.5 hours away), then stay local to Denver/Boulder on Sunday. (Steamboat Springs was also in consideration but didn't make the cut.)
We selected 2 routes from Gravel Bike Adventures, an incredible and thoughtful resource run by 2 women, Laura and Rose, who have informative and well-written reviews of routes in Colorado and beyond.
Day 1
Route: Fraser/Winter Park Loop + County Rd 50 Out-N-Back (via Gravel Bike Adventures)
We left Denver early on Saturday and got to the trailhead around 8:30am. We met a few people along the way who were following this same route. One guy we met, Steve, was combining this ride with the site's other Winter Park ride, Tour de Grand County Creeks, for even more mileage.
Climbing was tough for me, especially at high altitude, but true to the site's review, the route wasn't that technical and I thought it was the perfect amount of challenging. I was working pretty hard but didn't feel like I was going to die. It's so nice when a site's difficulty rating feels true-to-life and accurate to your experience on it.
We had picked up extra water on the way into Winter Park, and I'm glad we did. I ended up drinking 3 25-oz. bottles and still felt a little dehydrated at the end of the ride. Our poor frame bags were stuffed to the brim. Someone at the trailhead actually asked if we were going on an overnighter because we were so prepared. No sir, we are not, but we have enough snacks to sustain us if we do! We were also carrying bear spray and a Garmin inReach Mini, but the route was trafficked enough with other cyclists and cars that we probably would have been fine without either. It was nice for peace of mind though.
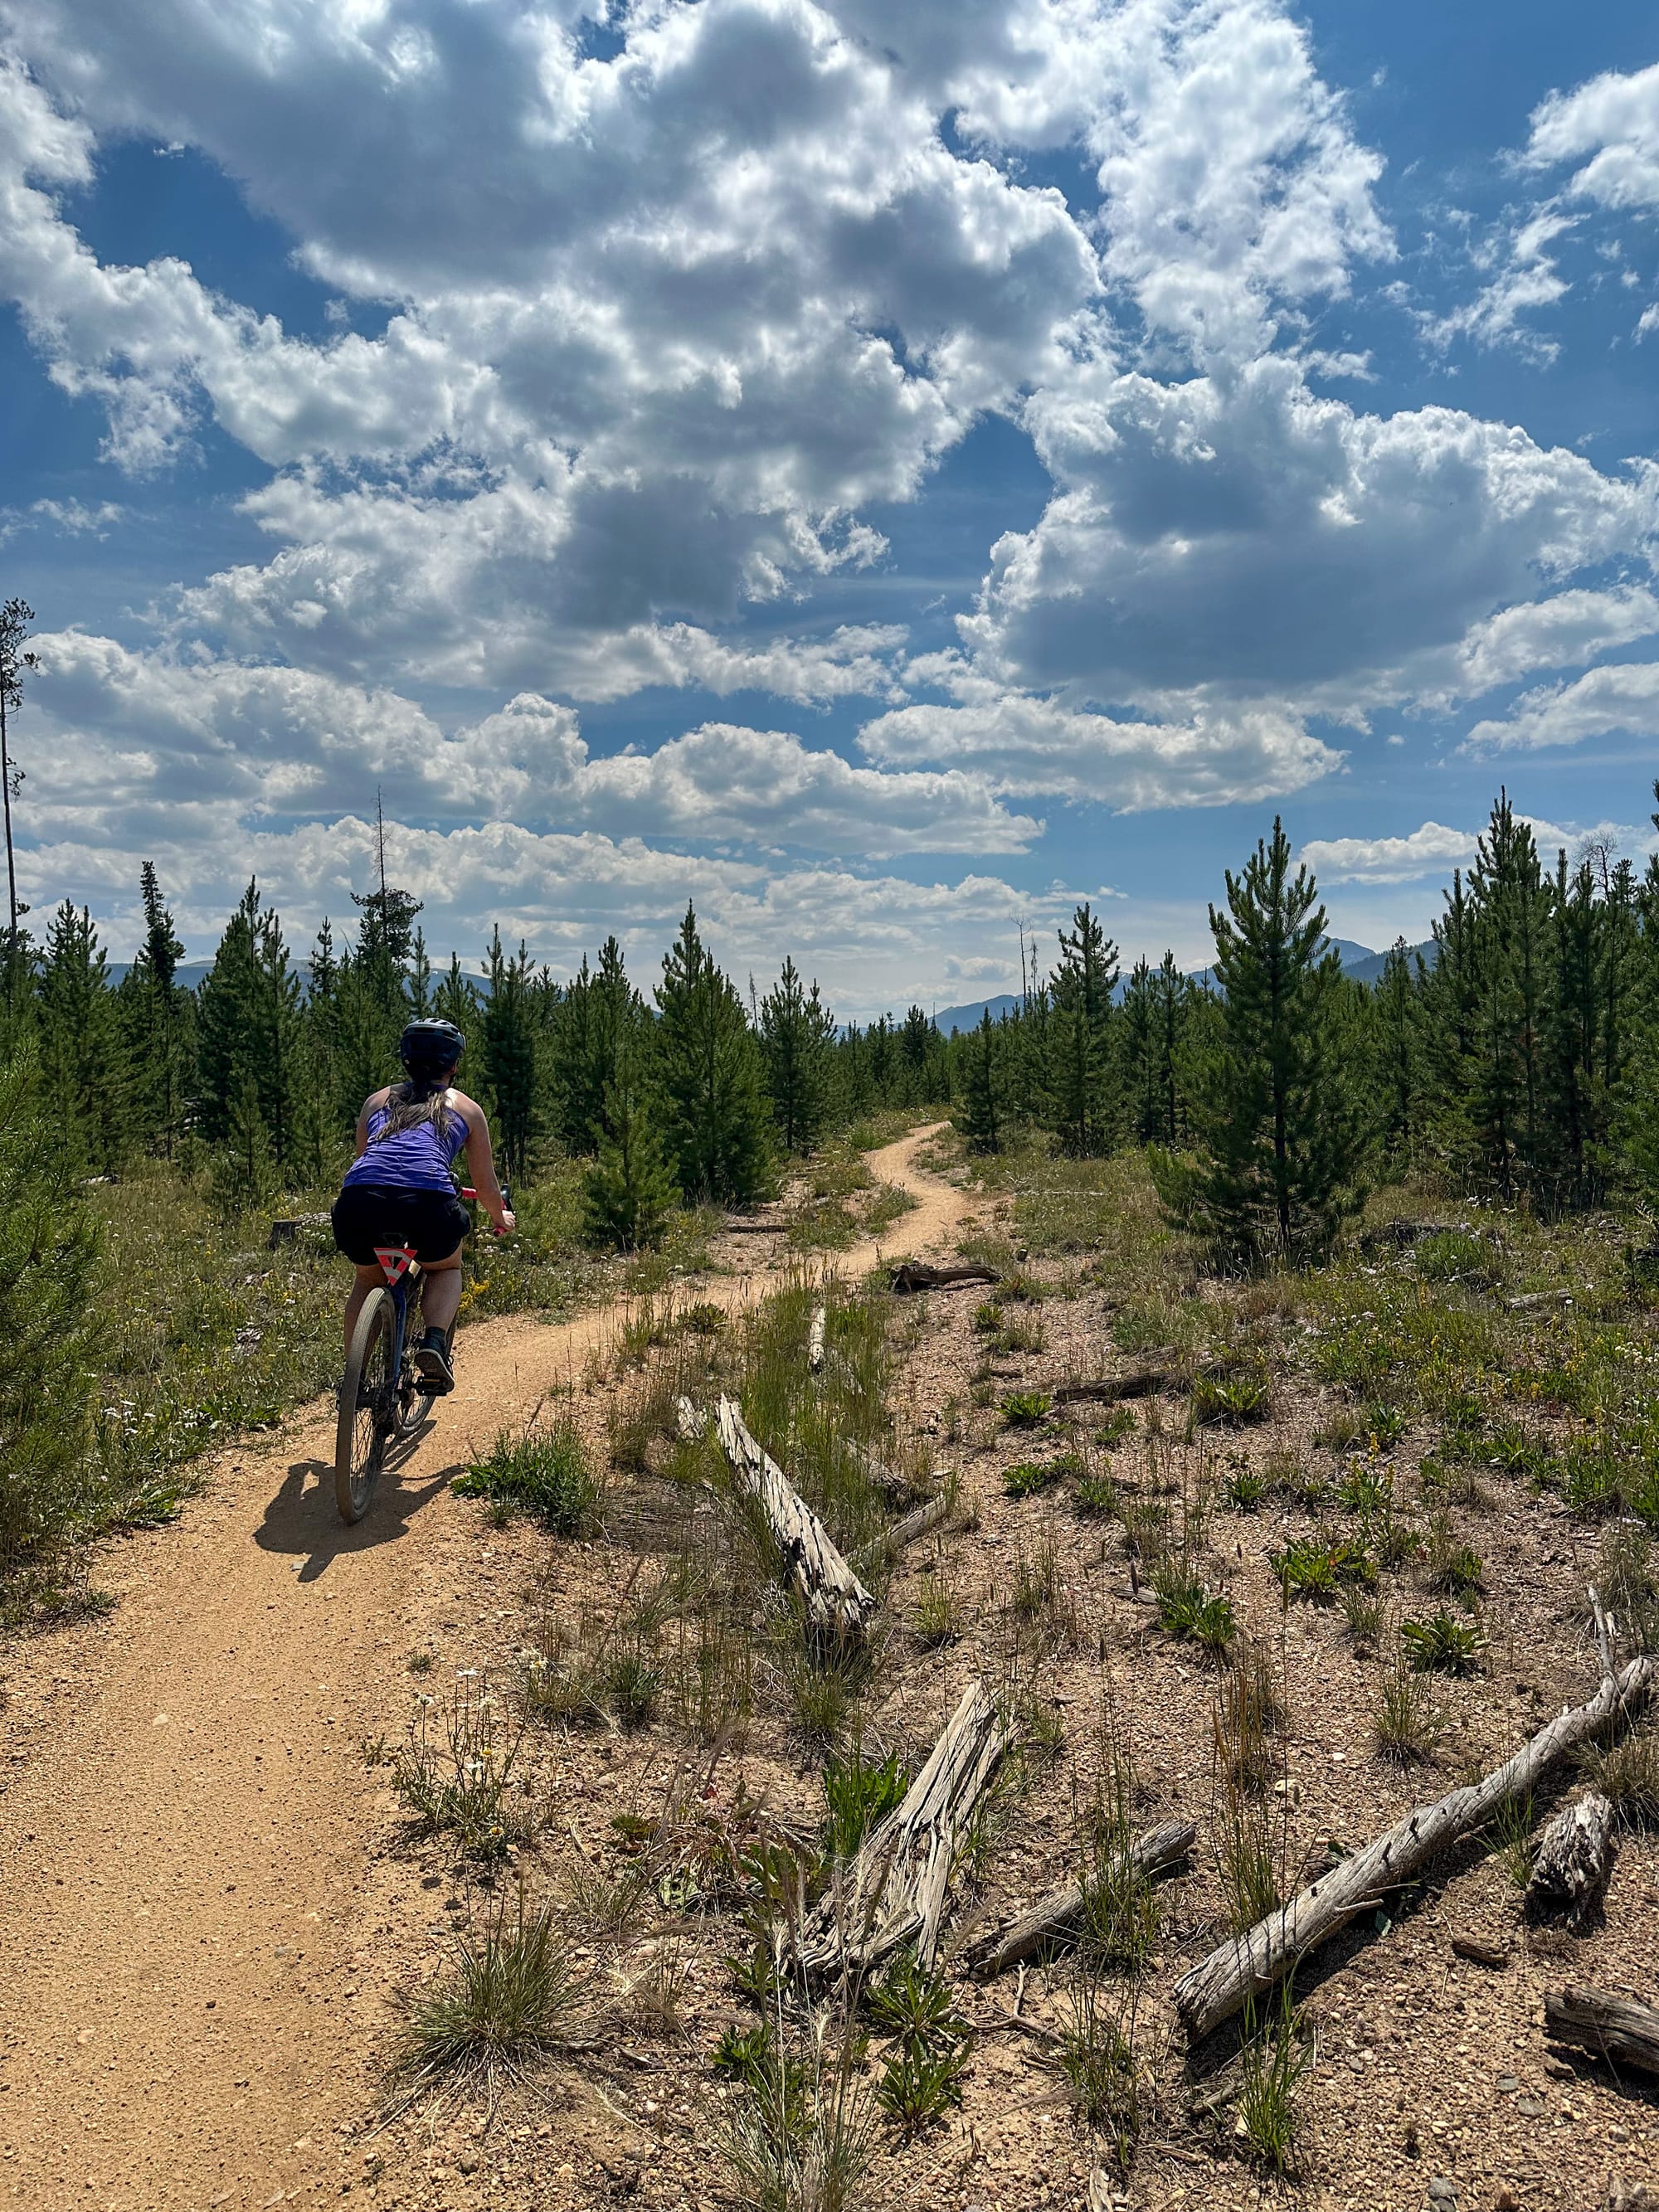
The scenery itself was GORGEOUS. We must have said, "Wow, this is amazing!" or "This is so pretty" 50 times that day. We both loved the flowy, easy 1.5 mile singletrack that comes after the descent from the turnaround point. We were on our gravel bikes and felt totally comfortable (and happy and exhilarated) on this route. I didn't feel underbiked at all, even though some parts were a little rutted out and bumpy.
The only small downside on Day 1 was that we were expecting it to be a bit more remote and quieter than it actually was, specifically with regards to road traffic. A surprising number of cars drove by us on the small unmaintained road labeled as Church Park Road on Komoot and Strava (where were they all going??), and every time they did, it kicked up a huge amount of dust, impairing visibility and generally just a little unpleasant in an otherwise pristine environment. There were also a few ATVs that ripped past us at pretty high speeds.
Towards the very end of our ride, we stopped at Vicious Cycling Brewing in Fraser and had some tacos from Shreddy's Tacos. If you're ever on this ride, go get tacos from Larry. He is awesome, and they are delicious.
Verdict: The perfect day. I was definitely tired by the time we reached our car and wasn't sure if I had many more miles in me beyond what we'd rode and the elevation we'd climbed. The parts of me that felt worst were definitely my butt and wrists. Even though I love my Specialized MIMIC saddle, my butt was getting sore from riding so long, as I hadn't done any training rides leading up to the weekend. My wrists and hands were also aching a bit from the descents, so by the end, I was constantly switching up my grip to try and relieve pressure on my hands. But nothing was acutely wrong. I was just sore from body-powered movement, my muscles felt nicely used, and I was a very happy, tired girl.
Day 2
Route: Boulder Reservoir and Open Sky Loop (the full route, via Gravel Bike Adventures) and our modified & shortened Open Sky Loop only route on Komoot
On Sunday, with the harder Winter Park ride behind us, we knew we wanted something a little easier, so we landed on this route in Boulder but shortened it to just the top half starting at the intersection of Ouray Drive and Oxford Road. This made it a 20-mile day.
The closest parking we found was at Lefthand Trailhead (Google Maps), an easy 2.5 mile ride to the start of the actual mapped out route. When we got there at 8:30am, the lot was already filling up, but there were still a number of spots left. Note that there are neither restrooms nor water available at this trailhead, so come prepared.
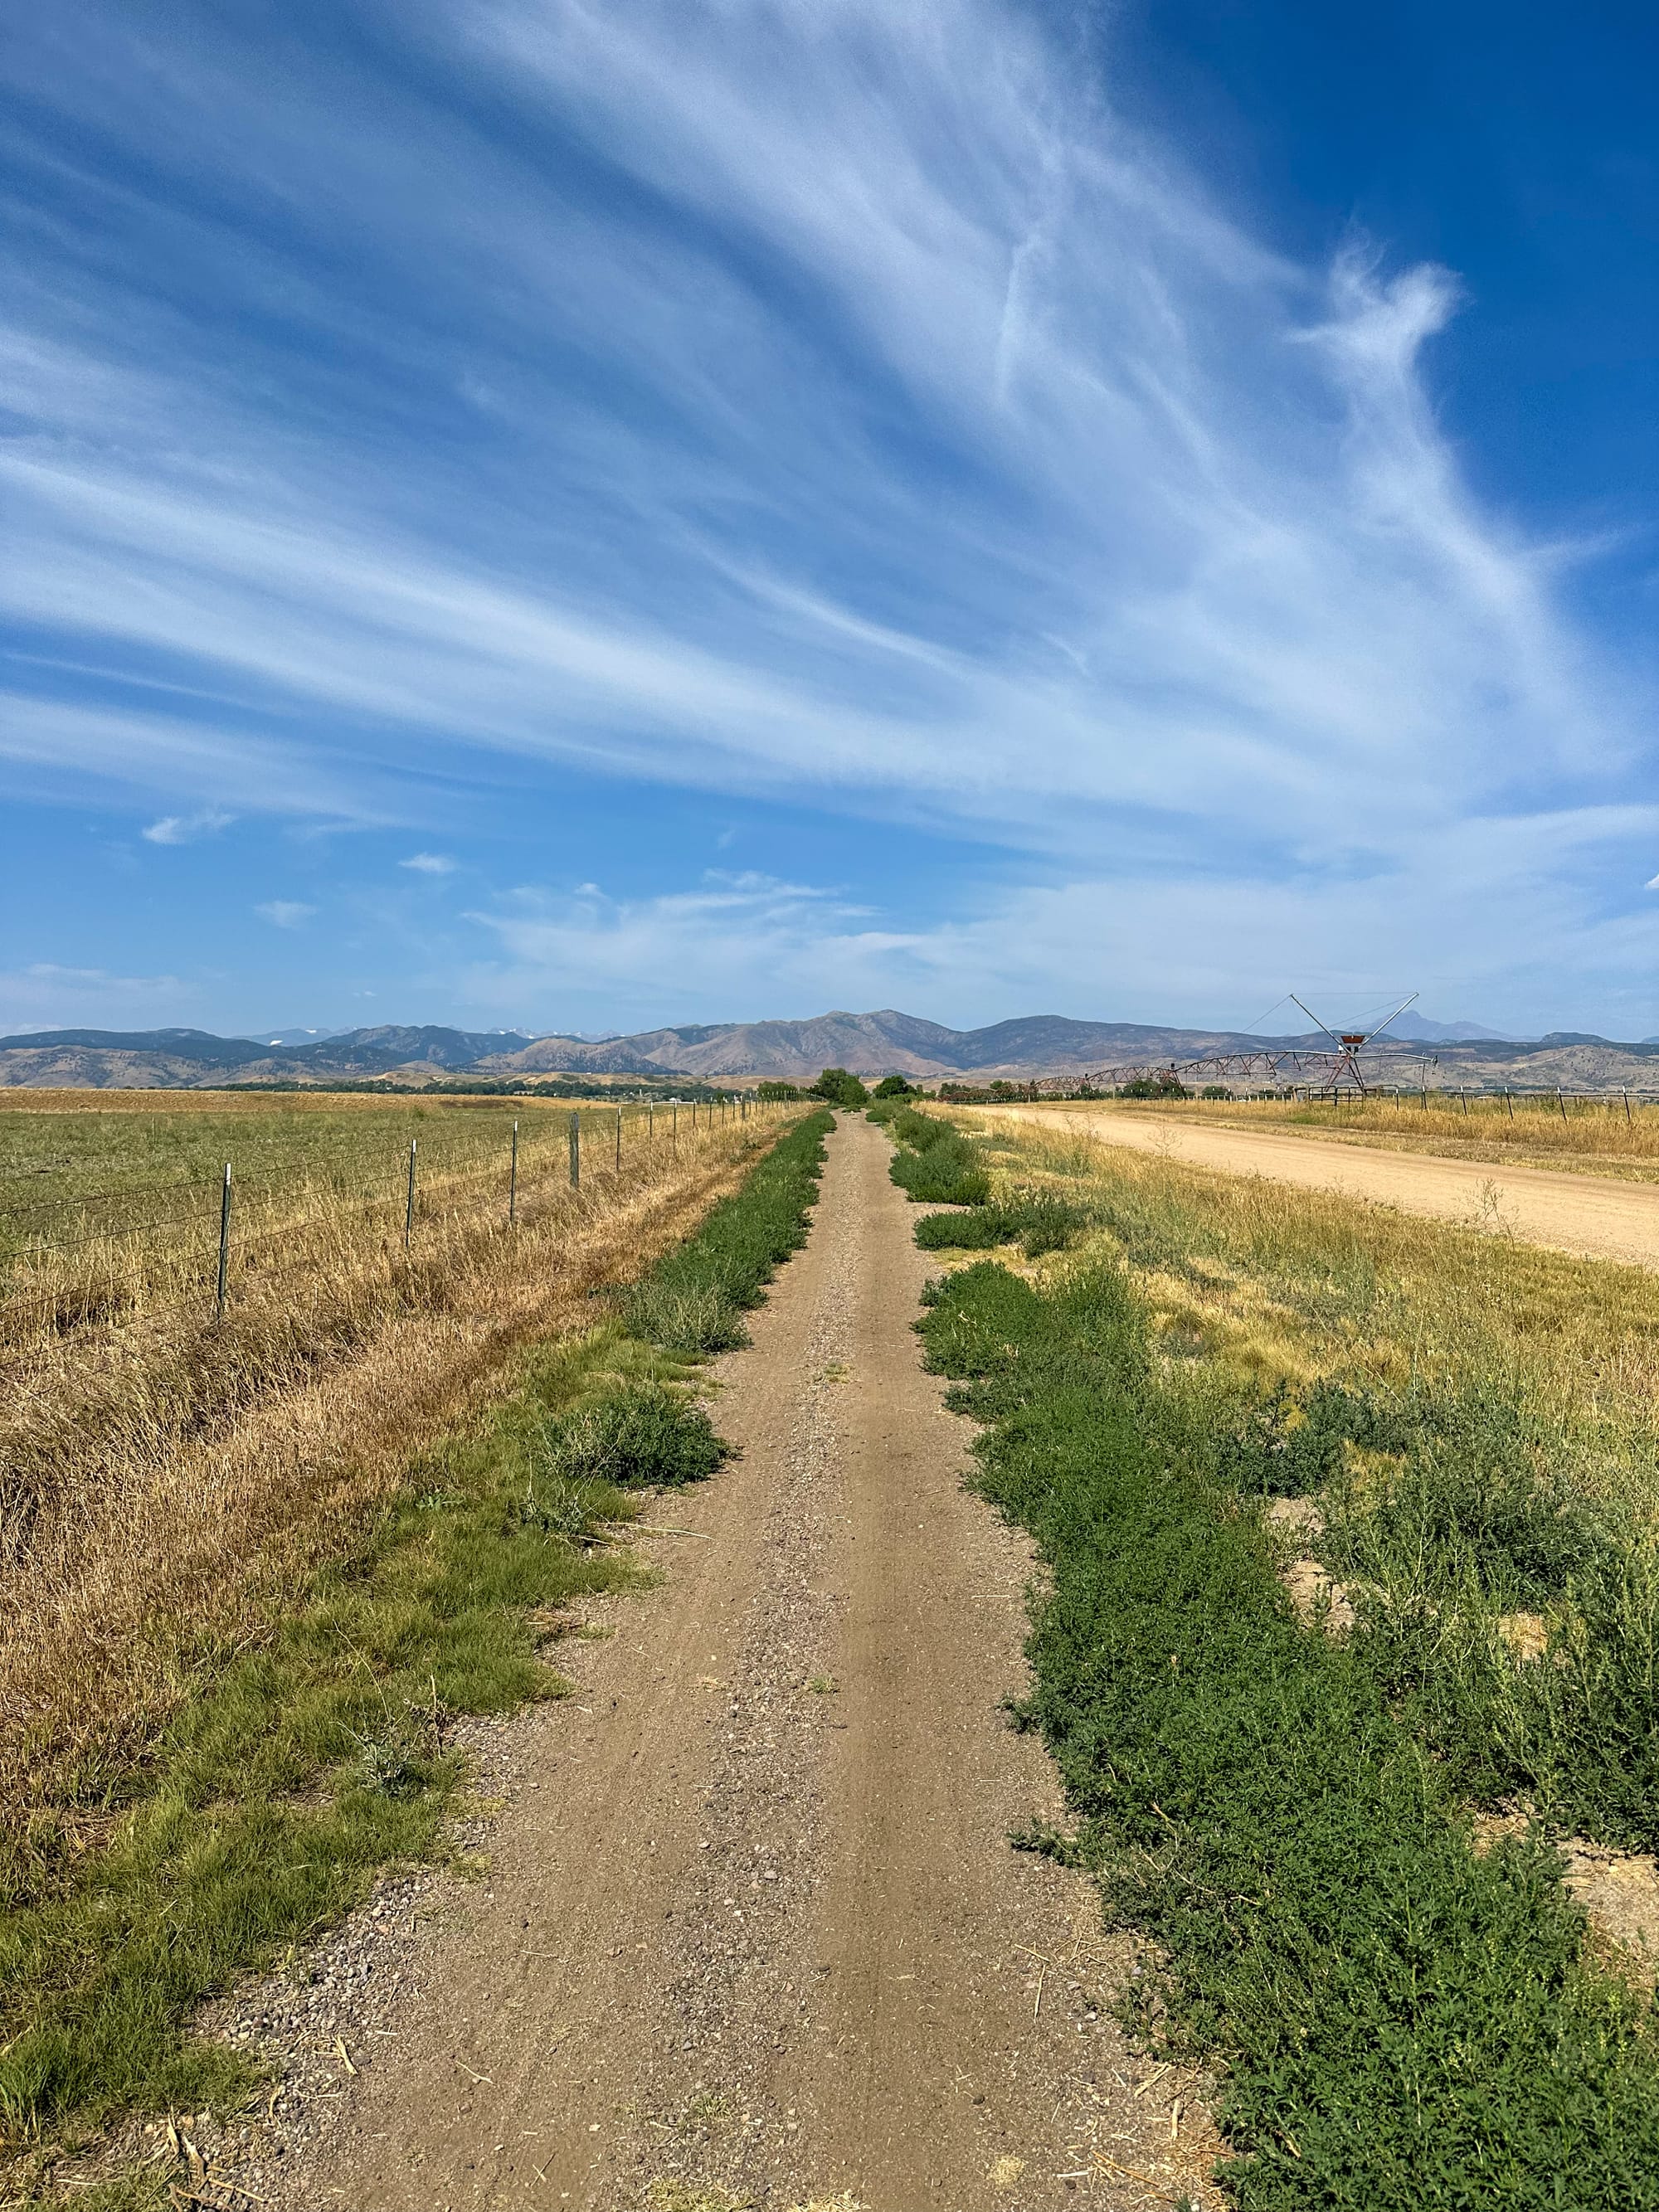
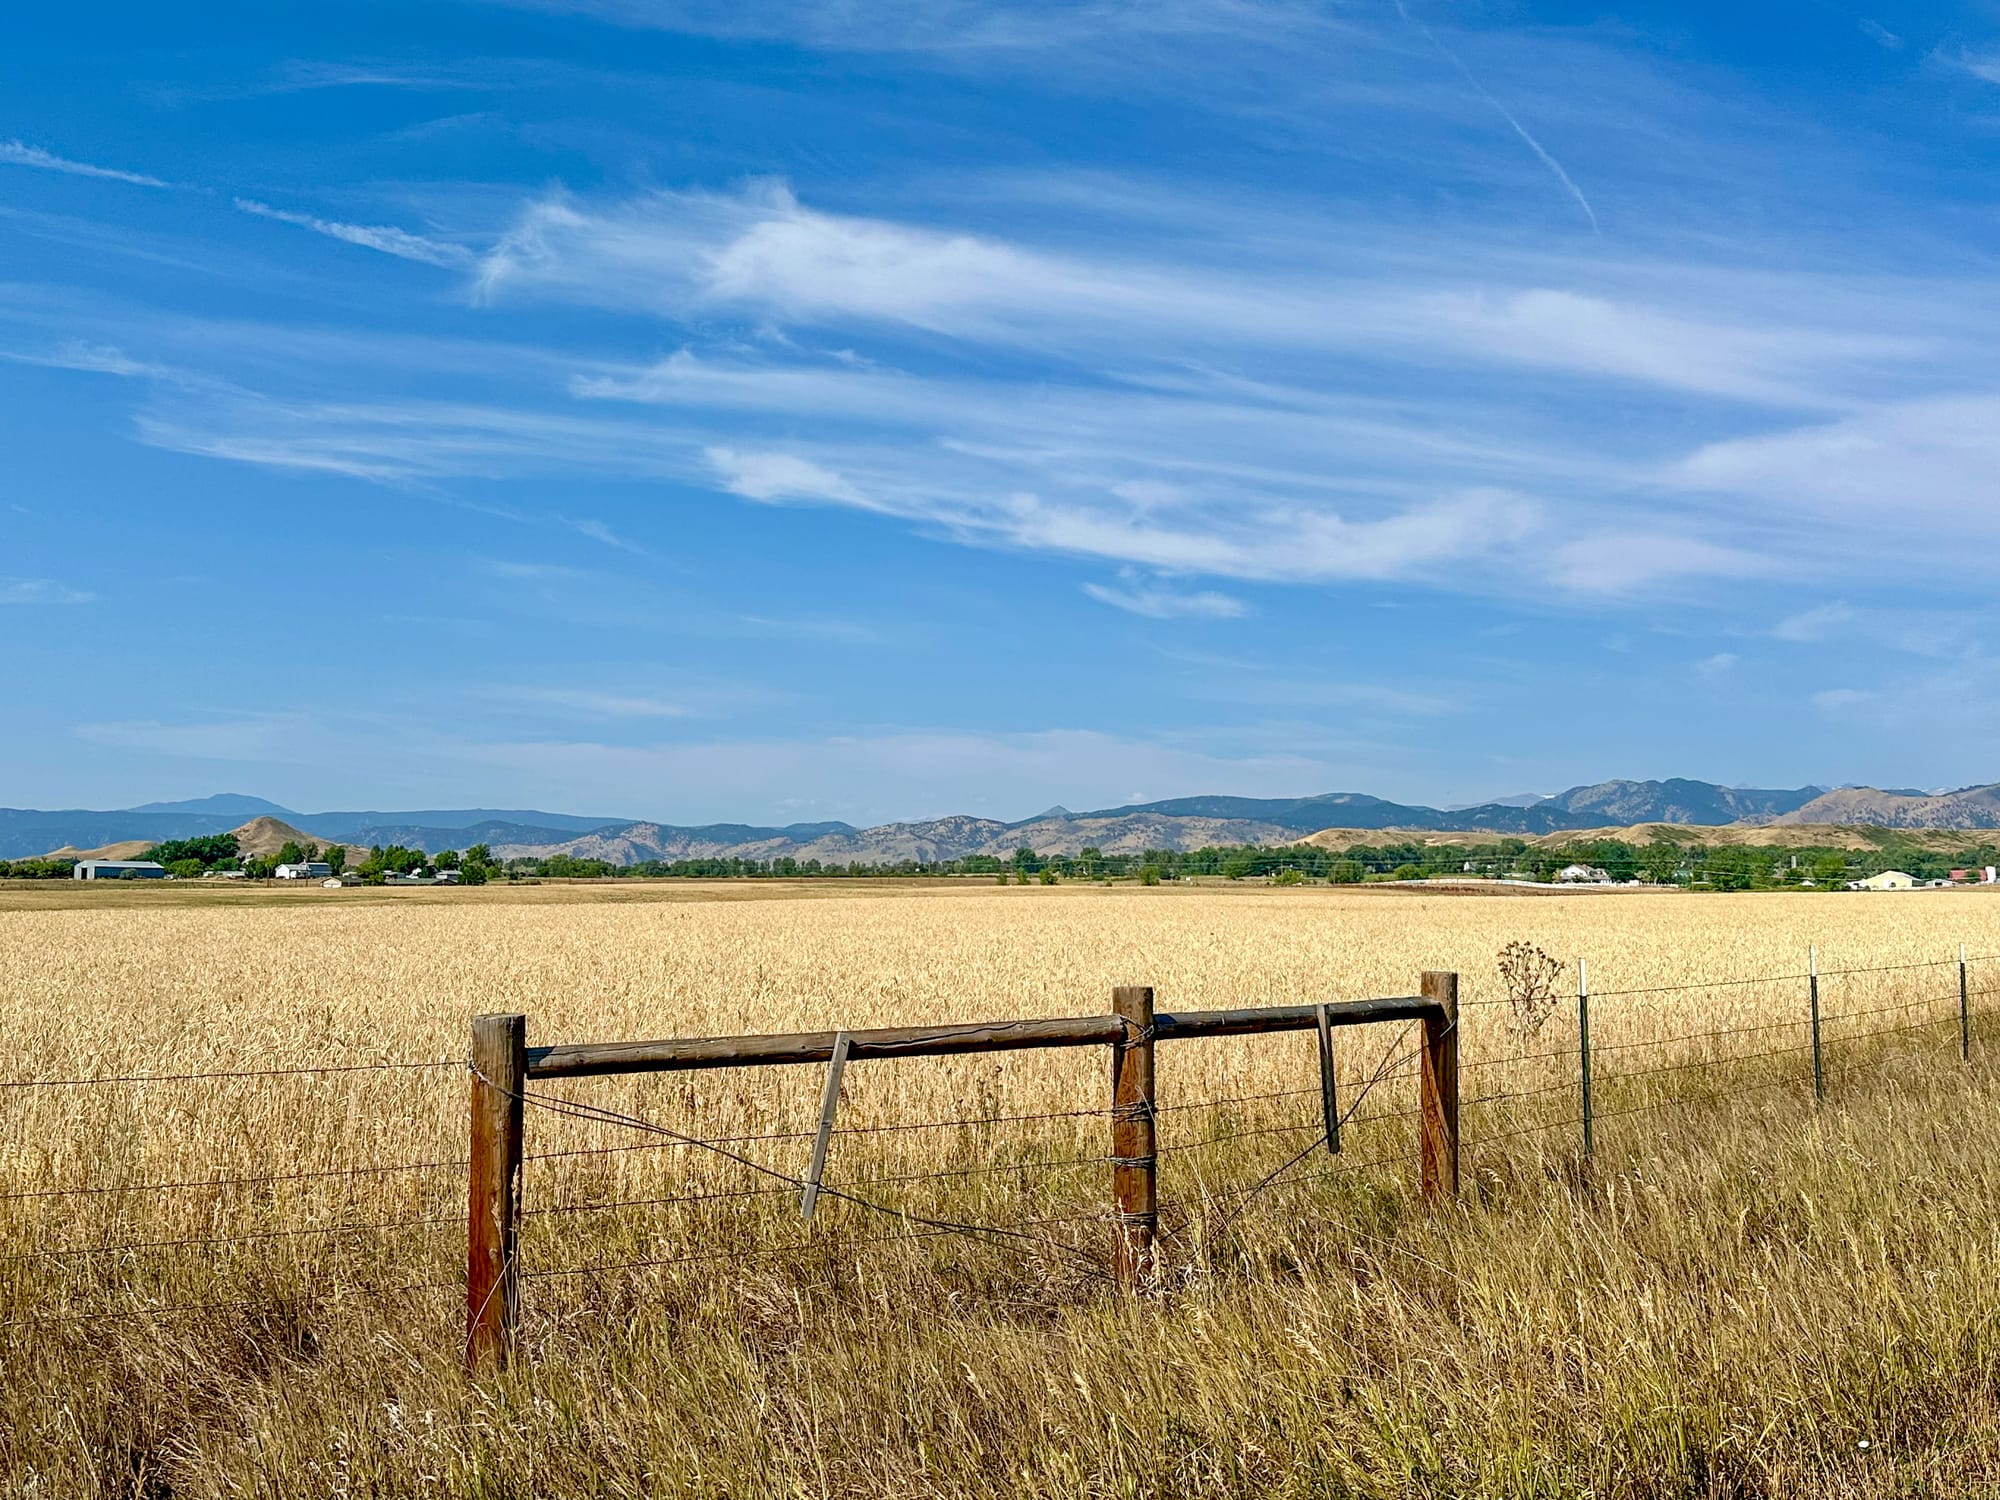
The Boulder route provided a nice contrast to the Winter Park ride from Day 1. It was mostly flat, taking us through farms and vast open fields. The loop around the Lagerman Agricultural Preserve was especially lovely, and overall, we saw fewer cars out in Boulder than we did in Winter Park the previous day. Instead of cars, we saw prairie dogs standing watch over their holes or scurrying away from our approach. Didn't hate that. Prairie dogs > cars.
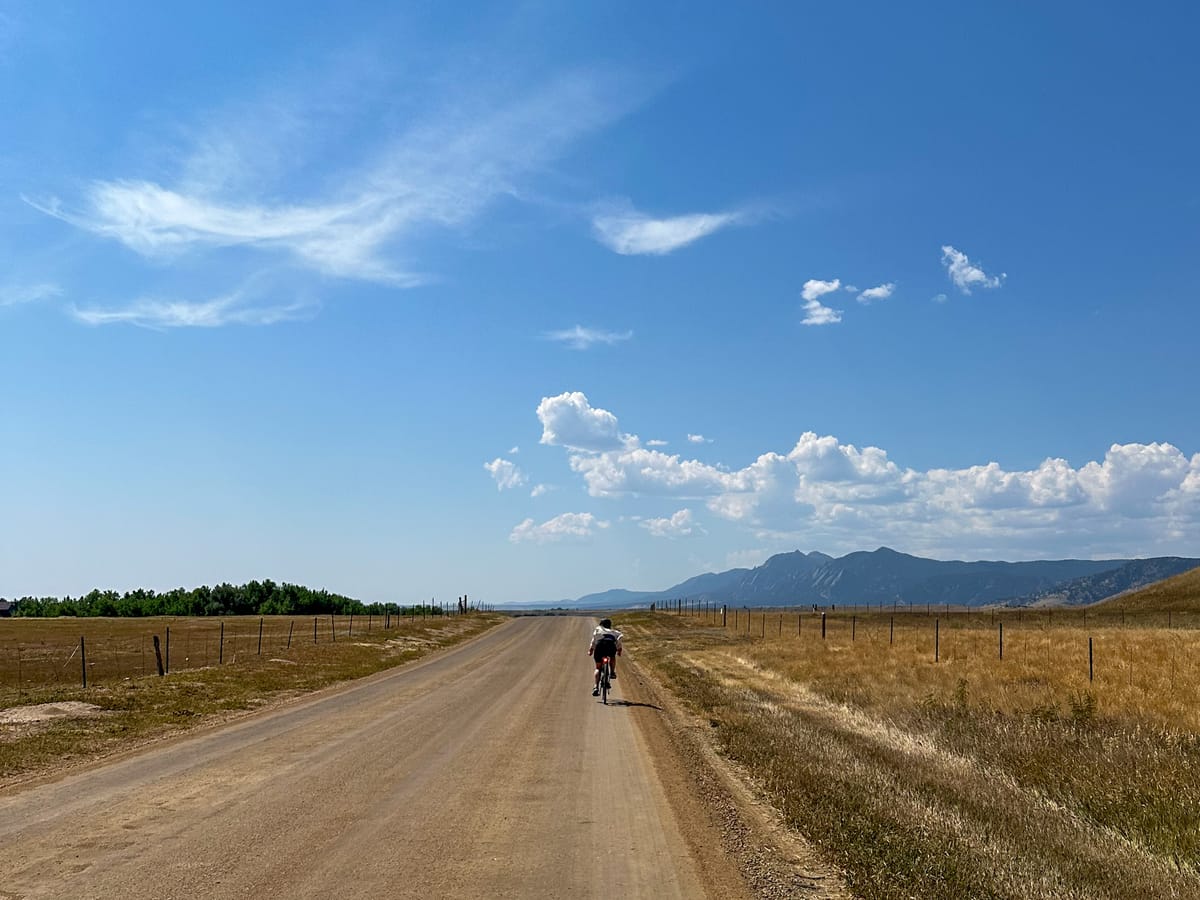
"Open Sky" was a fitting name, and my favorite part was when Lux pointed out the Flatirons to me in the distance. They became a marker on the landscape I kept looking for, vast and such distinctive 'slashes' on the mountainside. One of my favorite pictures from the trip, featured at the top of this page, was snapped by Lux at the very end of the ride. We were biking up a slight incline, and I'd just told her that I was going to build up some momentum so I could coast over the hill. That's how she caught me, my 'adventure button-down' sunshirt flapping in the wind, and the Flatirons visible in the distance.
Verdict: The perfect day, take 2. We made the right call modifying and shortening the ride on Sunday. It felt like we stopped at the perfect time – before the fatigue and, more importantly, well before the afternoon high of 97 degrees kicked in.
Takeaways
I once read some advice that if you're trying to get back into running, you should stop your runs BEFORE you stop having fun. You might feel great and want to keep going, but don't. Stop before you're tired. Bottle up that energy, save it for tomorrow, and use that motivation to propel yourself out the door for the next day's run. (I've personally tried this advice, and I totally dig it. If I'm feeling really good, I might end with strides, but I try to leave myself wanting a little more.)
So this is how it feels like I ended my weekend in Denver. I felt satisfied, strong, more confident on my bike, and excited for my next cycling adventures. I felt connected to those around me and so grateful to have a friend like Lux to share these memorable and special experiences with. I was proud. It felt to me like I'd learned so much about my bike and what I could be capable of in the short span of a week. At one point on a ride, Lux looked over at me and asked, "Can you believe you're doing this?" and the answer was: "No!" I never imagined a life where I'd be grinning wildly as I freewheeled down a Colorado mountain, let alone learning how to disassemble my bike (then reassembling it, then disassembling it, then reassembling it again), just so I could ride my bike for 2 days.
And you know what? It's kind of great. It's a really good life.